



The fuses are located in a separate fuse box located above the glove compartment.
1. Before replacing a fuse, it is necessary to first switch off the corresponding consumer.
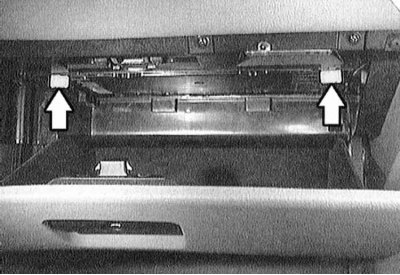
2. Open the glove box and turn both white clips (arrows in the illustration) outwards. This releases and lifts the fuse box downwards. The fuse layout diagram is located under the fuse board.
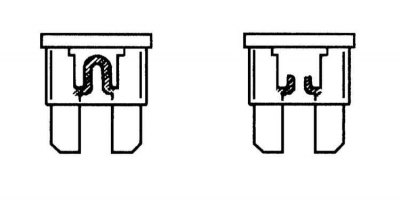
3. A sign of a failed fuse is a melted metal strip.
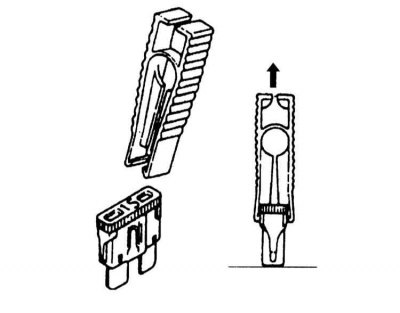
4. Remove the defective fuse. There is a plastic clip in the fuse box to make it easier to grip the fuse. Place the clip on the fuse, squeeze it and remove the fuse.
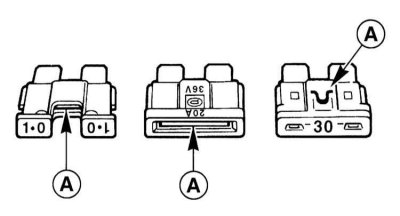
5. Insert a new fuse of the same maximum current. Its value is indicated on the plastic fuse body. In addition, the body has a color marking, by which you can also determine the value of the nominal current. A - melting wire (refer to Specifications).
6. Lift the fuse box up and secure it by turning the white clips outward.
If the new fuse blows again after a short time, the corresponding current circuit must be checked.
It is recommended to always carry spare fuses. Never replace a fuse with wire or anything similar, as this can cause serious damage to electrical devices.