
Attention! Halogen lamp bulbs are under pressure, use protective glasses and gloves when replacing them.
Do not touch the bulb of a new lamp with bare runes. Take the new lamp only by the base or use a clean handkerchief or the lamp packaging. Avoid mechanical shaking of the lamps.
Use the correct type of lamp.
Replacing a halogen lamp (15, see Fig. 16.40) the right and left high beam headlights must be carried out in the following order.
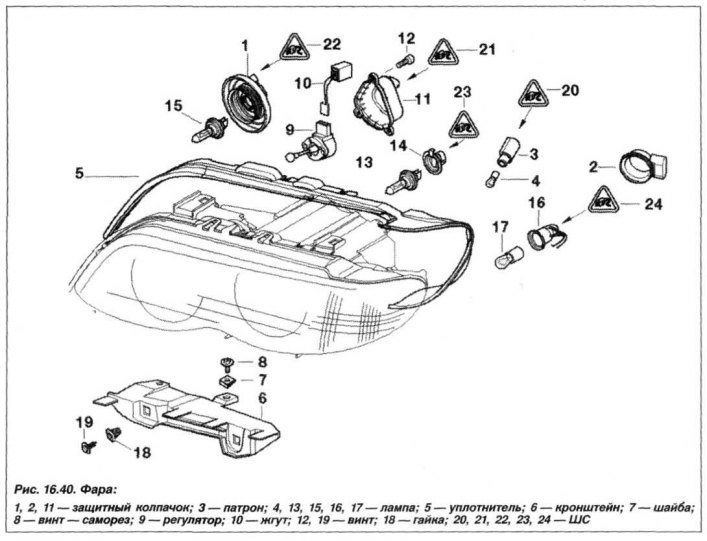
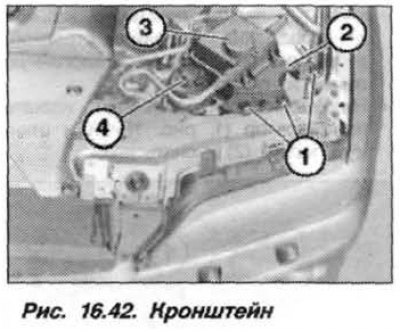
On a car with an "N62" engine, the screws should be removed (fig. 16.42) and put the bracket (2) aside.
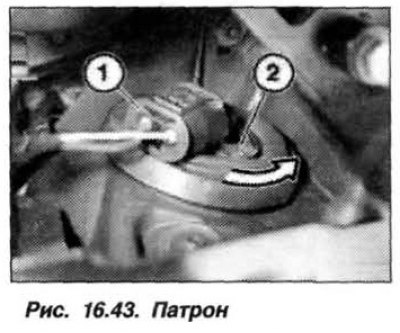
On vehicles before 10.2003, disconnect the SS (1, Fig. 16.43) from the halogen lamp headlight. Turn the lamp holder (2) approximately 45° in the direction of the arrow and remove it. Remove the halogen lamp from the holder.
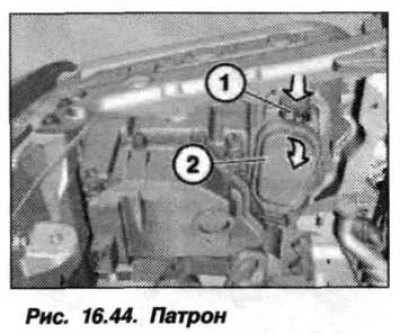
On vehicles from 10.2003, press the lock (1, Fig. 16.44) and fold back the casing (2) and remove it.
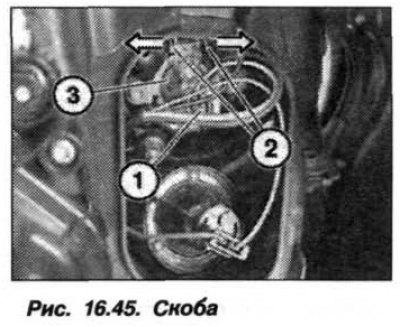
Disconnect the SS (1, Fig. 16.45), press the locking bracket (2) and open it. Remove the lamp (3).
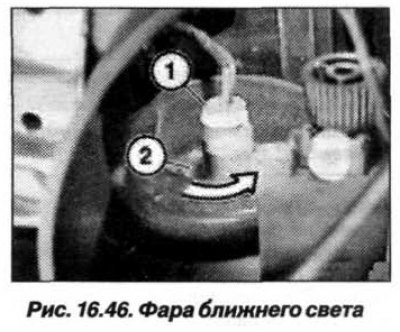
The installation of the halogen lamp of the right and left high beam headlights should be carried out in the reverse order. In this case, pay attention to the correct position of the casing seal (2, see Fig. 16.44) and on the reliability of the caps' fit (3 and 4, see Fig. 16.42). The replacement of the halogen lamp of the right and left low beam headlights must be carried out in a similar order (1, Fig. 16.46).
[The original is located on the internet portal: BMWMan]