
The procedure for disassembling and assembling the rear suspension strut is similar to the corresponding procedure for the front suspension (see section Front suspension). Below only the removal and installation of the rack is described.
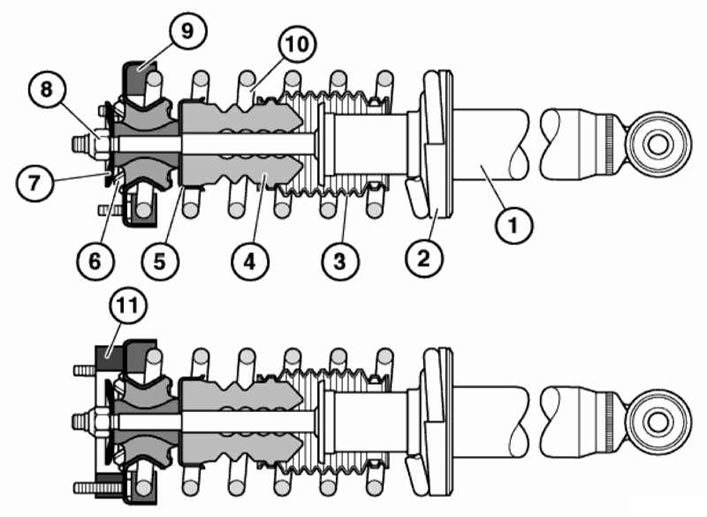
Rear Suspension Strut Assembly Components
1 — Shock absorber
2 - Lower spring support
3 — Dust cover or corrugated cover and its fastening elements
4 - Bumper
5 - Support plate
6 — Upper support of the rack
7 - Plate
8 - Self-locking nut
9 — Upper spring insulating gasket
10 — Spring
11 - Adapter for Eastern European countries with bad roads
1. Remove the trim from the shelf behind the rear seat.
2. Remove the wheel.
3. Remove the brake caliper and tie it to the body (see chapter Brake system).
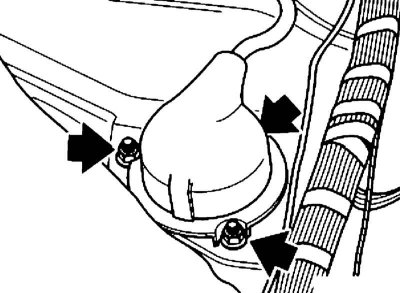
4. Remove the shock absorber cover and loosen the nuts. If so equipped, disconnect the EDC system connector.
Use new self-locking nuts when installing.
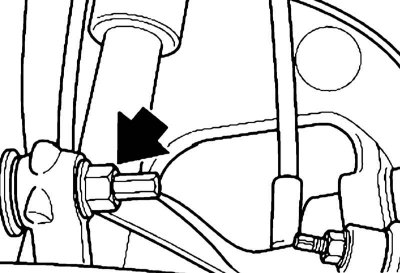
5. Give the nut.
There should be no traces of grease on the pin or in the hole when installing. Use a new nut.
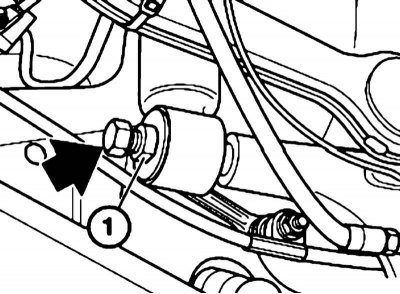
6. Disconnect the shock absorber from the wheel bearing support.
When installing, the head (1) with the flats of the rubber-metal hinge must face the head of the bolt.
7. Remove the rear suspension strut.
8. Installation is carried out in reverse order.