
Models with engines other than M57 and M67
1. Remove the air cleaner housing (see chapter Power supply and exhaust systems).
2. Remove expansion tank (see Section Removal and installation of a broad tank).
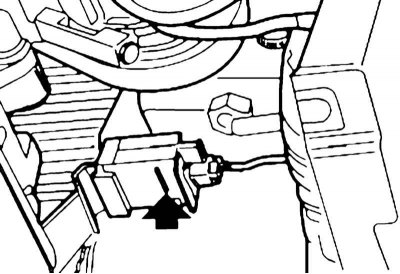
3. If equipped, disconnect the electrical wiring connector of the automatic airflow control system (AUC).
4. On models with an engine M73 remove the fasteners on the left and right sides.
5. On models with an engine M73 if necessary, disconnect the fan drive clutch from the water pump (see Section Removal and installation of the fan drive clutch). Remove the fan shroud towards the top, if necessary together with the fan.
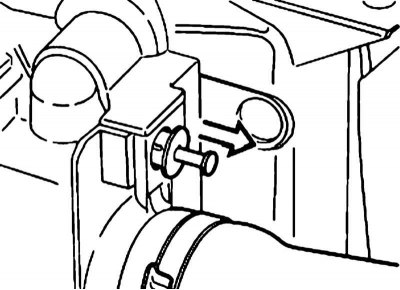
6. On models with an engine M62 if necessary, disconnect the fan drive clutch from the water pump (see Section Removal and installation of the fan drive clutch), remove the fasteners on the left and right sides (1) and remove the seal (2). Pull the fan shroud up.
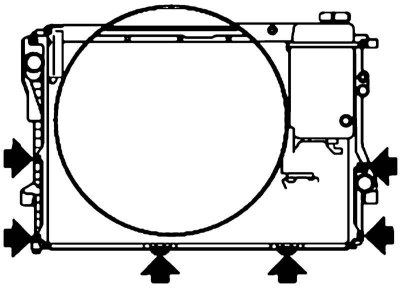
7. When installing, insert the fan shroud into the holders on the bottom and sides.
Models with M57 engine
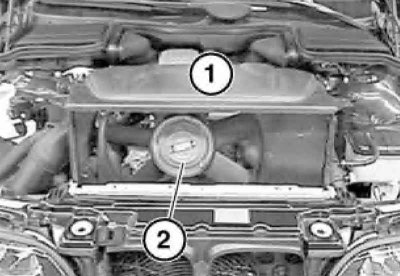
1. Disconnect the fan impeller.
2. Detach the seal (1) from fan shroud (2).

3. Disconnect the sensor connector AUC. Remove the latches (1).
4. Remove the fan cover with impeller.
5. When installing, insert the locking tabs (1) into the cassette holders on the radiator.
Models with M67 engine
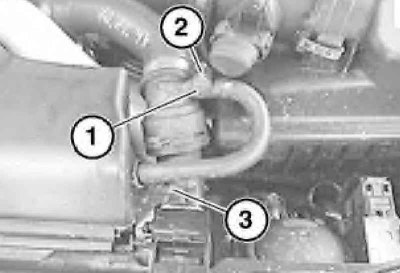
1. Remove the clips (1), gently open the lid (2), squeeze the bracket latches (3) and take it off.
2. Remove the cover (1), cut the clamp (2) and remove the fasteners (3).
When installing, replace the clamp.
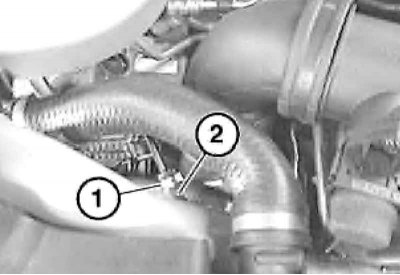
3. Cut the clamp (1) and disconnect the hose (2).
When installing, replace the clamp.
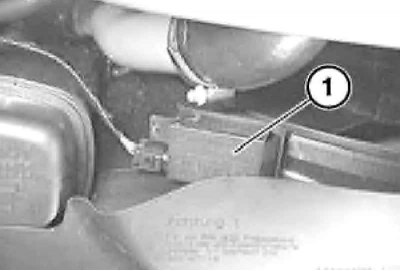
4. Remove the sensor AUC from the fan shroud.

5. Remove the impeller (2) fan, for which, holding the water pump by the square, give the union nut (1) using tool no. 11 5 040.
Be careful not to damage the radiator fins.
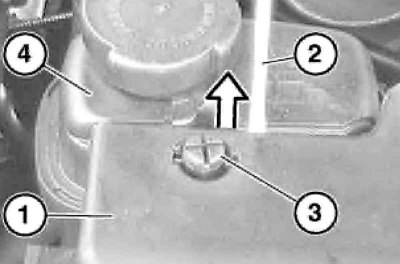
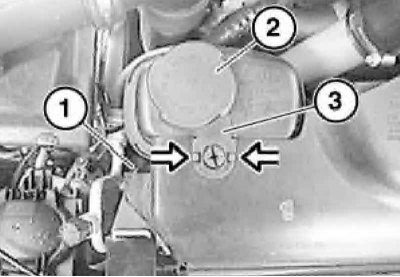
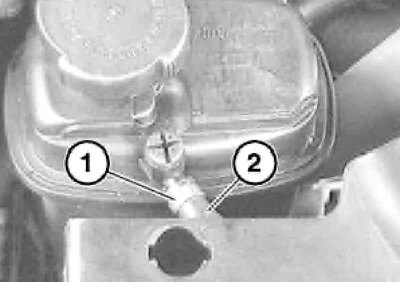
6. Lift the cover (1) fan with a screwdriver (2) and lift over the screw (3) to bleed the cooling system. Pull Back Bottle (4) back and disconnect from the fan shroud. Hang the tank on the wire.
7. Loosen clamp (1) and disconnect the water hose (2).
When installing, replace the clamp.
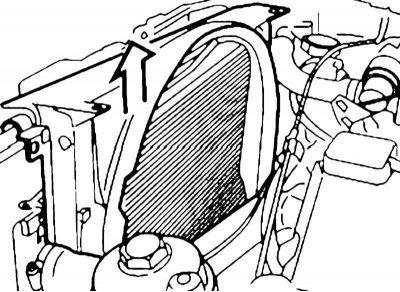
8. Remove the shroud seal and lift it upwards, being careful not to damage the radiator fins.
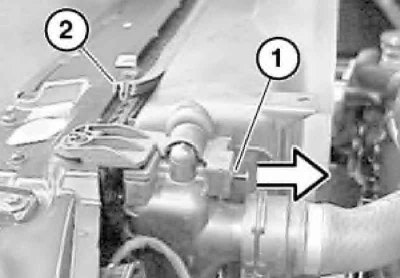
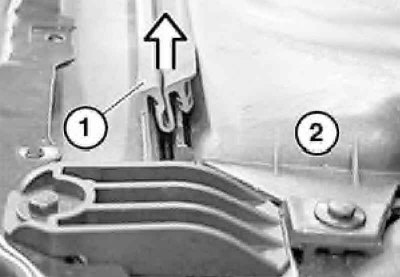
9. When installing, make sure the position of the ventilation hose in the lower part of the casing is correct; insert the locking tabs into the cassette holders on the radiator (see illustration).