



Note: Engine removed.
1. Remove the cylinder head.
2. Remove the oil pan.
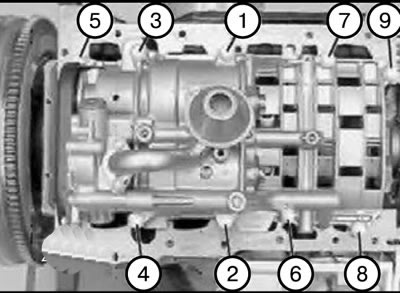
3. Remove balance weights/oil pump.
Note: When installing, tighten the bolts according to the numbering.
Note: Before removing the pistons, remove any oil deposits from the cylinder walls.
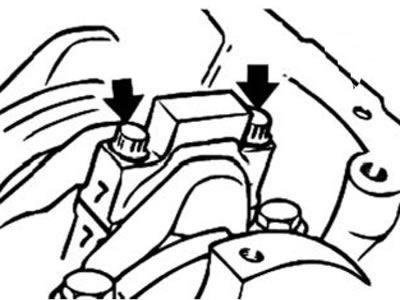
4. Remove the connecting rod bearing cap.
5. Move the connecting rod with the piston towards the cylinder head and remove the parts.
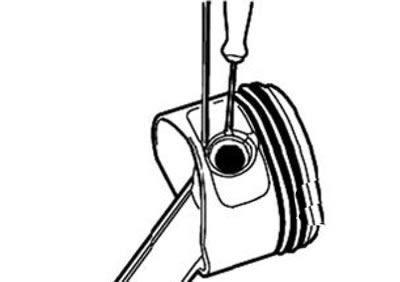
6. Remove the retaining ring and press out the piston pin.
Please note: Pistons and piston pins are a pair and are not interchangeable.
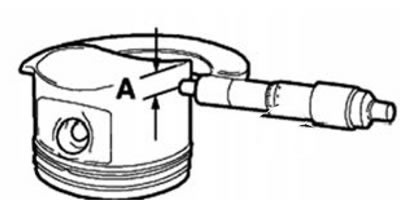
Note: Before installation, measure the nominal clearance between the piston and the bore in the cylinder block.
7. Measure the piston diameter with a micrometer at a distance A from the lower edge of the skirt in a plane at an angle of 90° to the axis of the piston pin.
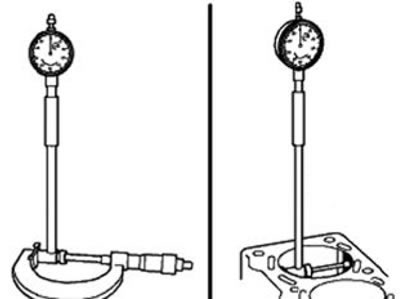
8. Install the micrometer on the cylinder mirror.
9. Set the bore gauge of the micrometer to zero.
10. Measure the diameter of the cylinder at the bottom, middle and top in the direction of movement and in the transverse direction.
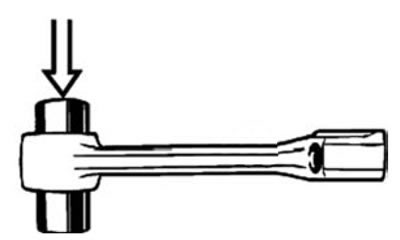
Note:
- Replace the connecting rod if necessary.
- Connecting rods are supplied by the Parts Delivery Service only as a set.
Note: The piston pin should be pushed through the bushing by pressing with your finger and should not have any visible clearance with it.
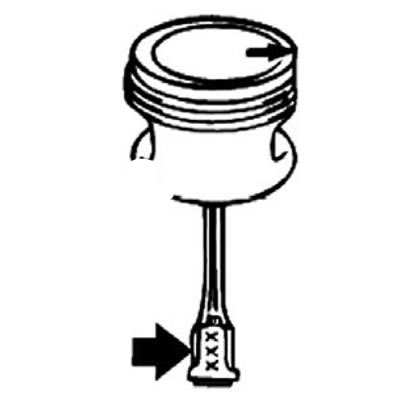
11. Replace the connecting rod bearing shells.
Note: The connecting rod with the piston pin must be installed in the piston so that when the pairing number is visible, the arrow on the piston points to the right.
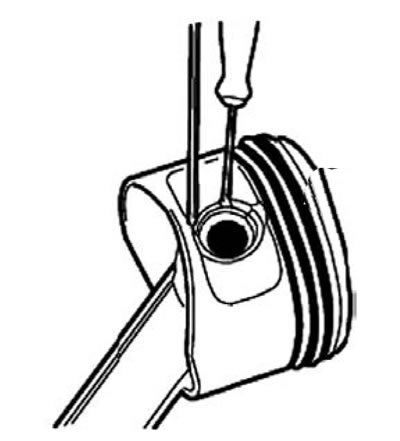
Please note: Pistons and piston pins are a pair and are not interchangeable.
12. Install the retaining ring so that the hole is located opposite the recess.
Attention:
- Pistons, connecting rods and bearing shells should be installed in the same place and in the same position.
- Connecting rods and bearing caps are marked with the same pairing numbers and are not interchangeable.
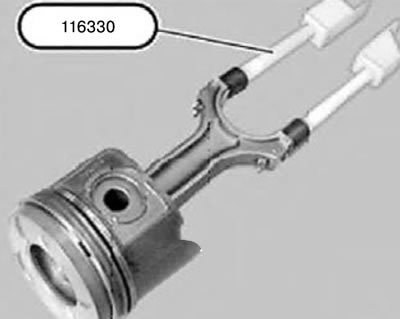
13. Insert tool 116330 into the connecting rod.
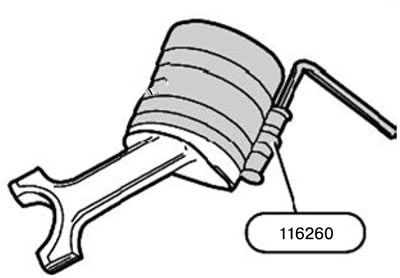
14. Lightly lubricate the pistons and piston rings with engine oil.
15. Adjust the piston ring locks (by shifting them by approximately 120°, while the joint should not be located above the bosses).
16. Compress the piston rings using tool 112260.
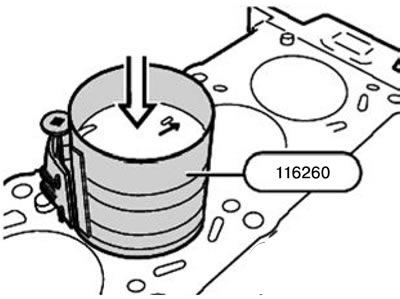
17. Insert the piston so that the arrow on the head points towards the camshaft drive.
18. The clamping band around the entire perimeter must fit tightly to the surface of the cylinder block.
Attention:
- Risk of piston ring failure.
- The pistons should be installed only by pressing with your finger, do not hammer them in.
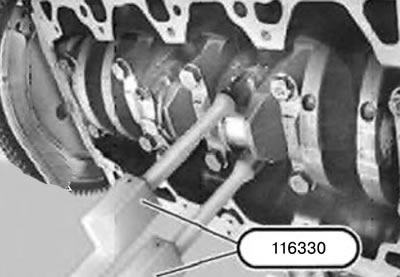
19. Combine the crank pin and connecting rod.
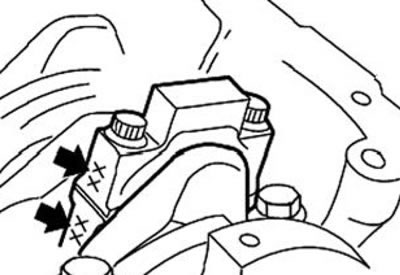
20. Lubricate the connecting rod bearing shells with engine oil.
21. Install the bearing caps so that the matching number matches.
22. Insert new connecting rod bolts.
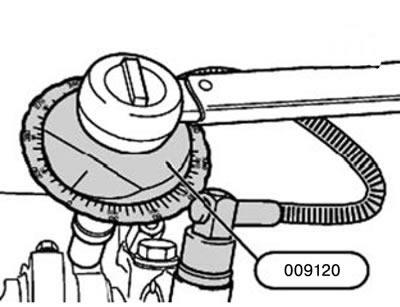
23. Tighten the connecting rod bolts using tool 009120 or tool 112110.
Tightening torque: 5 Nm + 20 Nm + 70°.
24. Clean the sealing surface.
25. Assemble the engine.
(Original publication posted on the website: «BMWMan.ru»)