
Note:
- Clearances are fundamental for adjustment work.
- Adjustment of bolted body parts is carried out starting from the rear.
- As the hinges are further displaced, unpainted surfaces become visible. They need to be painted in the appropriate color.
Attention:
- Avoid damage to adjacent body elements.
- If the existing adjustment options prove insufficient, minor adjustments by straightening are permitted.
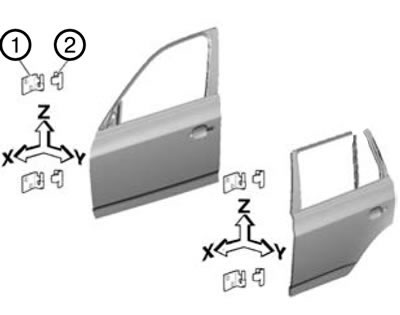
1. Loosen the screws (1) and (2) on the door hinges to be adjusted, at the top and bottom, respectively.
2. Adjust the door gap according to the specified value.
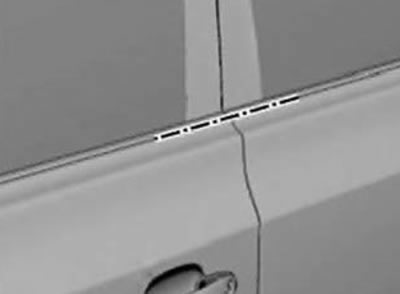
3. Check the installation height of adjacent body parts and adjust it if the parts are not at the same height.
Note: After completing the adjustment, tighten the hinge screws and nuts.
Tightening torque:
- M8: 18.5 Nm.
- M10: 56 Nm.
Note: Adjust the lock latch if necessary.
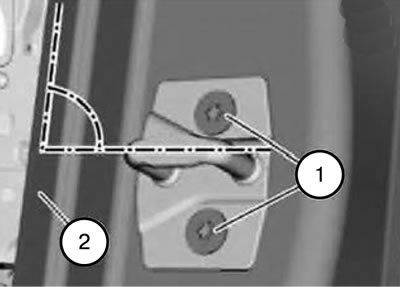
4. Loosen the screws (1), adjust the clamp and retighten the screw.
Note:
- Once the screws are loosened, the catch should be at a 90° angle to the inside edge (2) of the door frame and slide easily.
- When closing the door, the latch should not hit or rub against the internal parts of the lock. Pay attention to scratches.