
Removal and installation the rear bumper trim (until 09/2006)
Note: The operation is described for the left side; for the right side it is performed similarly.
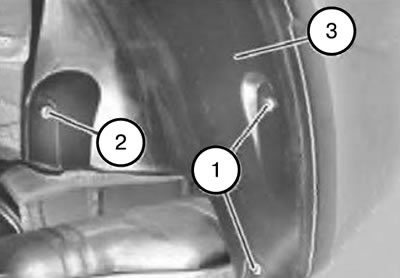
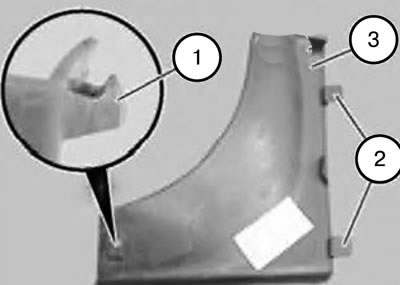
1. Loosen the screws (1) and unscrew the nut (2).
Note: When installing, ensure that the wheel arch cover (3) is positioned correctly.
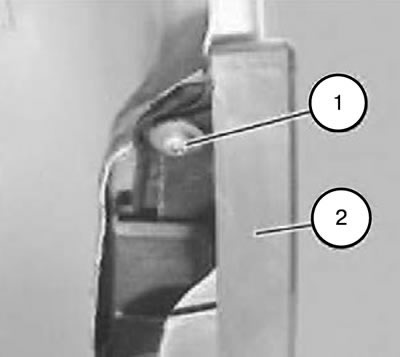
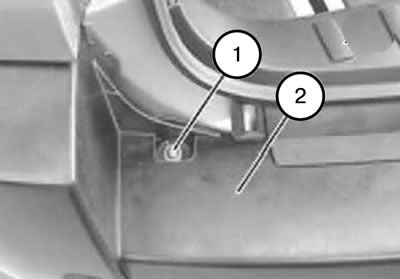
2. Slightly push the wheel arch protective cover to the side and unscrew the screw (1) on the bumper trim (2).

3. Unscrew the bolts (1) on the bracket (2).
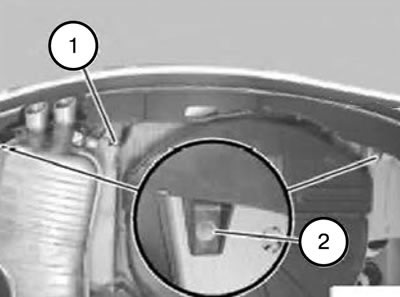
4. Unscrew the bolt (1) and unscrew the nuts (2).
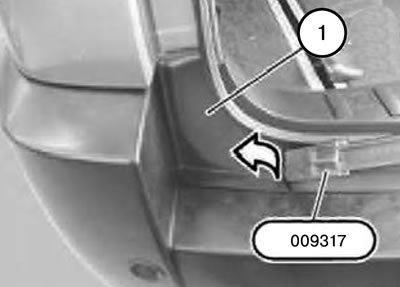
5. Hook the cover (1) using tool 009317 and press it in the direction indicated by the arrow.
Note: The retainer (1) and guides (2) of the lining (3) must not be damaged.
6. Unscrew the screw (1) in the bumper trim (2) on the left and right sides.
Attention:
- Risk of damage.
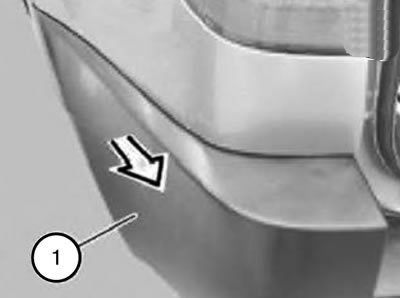
- Remove the bumper trim (1) not to the side, but outward.
7. Pull the bumper trim (1) towards the wing in the direction indicated by the arrow.
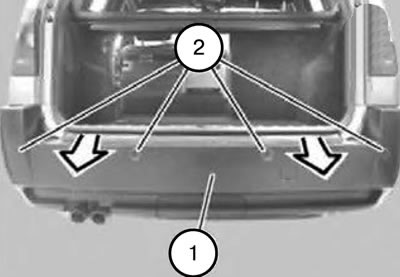
8. Pull out the bumper trim (1) in the direction indicated by the arrow and remove it with the help of an assistant.
Note: Version with Park Distance Control.
9. If necessary, pull back the bumper trim slightly and disconnect the ultrasonic transducer connectors (2).
10. Remove the bumper trim (1) with the help of an assistant.
11. Installation should be carried out in the reverse order of removal, taking into account the above notes.