
Withdrawal
Remove fan.
Drain the coolant from the engine.
Disconnect the upper and lower hoses from the radiator, after releasing and sliding back the clamps.

1 Radiator
2 Expansion tank
3 Gasket
4 O-ring
5 Lid
6 Bolt
7 Radiator cap
8 Air release valve
9 Cork
10 Temperature switch (only cooling systems)
11 Cork
12 O-ring
13 Level sensor
14 O-ring
Model 3251: Disconnect the level sender wire -13- at the bottom left of the radiator.
If fitted with air conditioning, unplug the temperature switch -1- on the right side of the radiator.
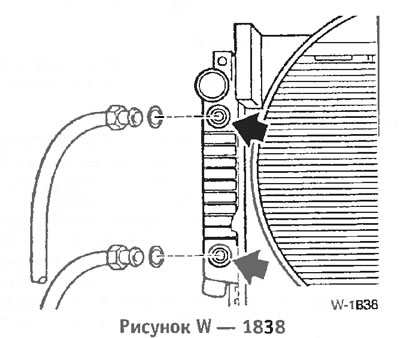
Only on vehicles with automatic transmission: Disconnect the hoses from the transmission oil cooler, collect the escaping oil. Close the wires with clean plugs; dirt must not get into the hoses.

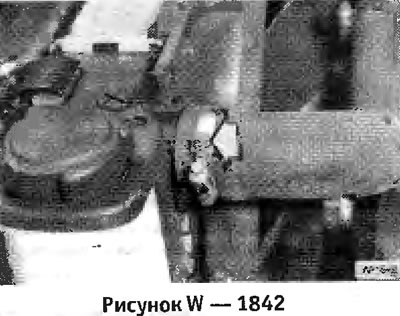
Release the two radiator mounting clips. To do this, insert a screwdriver as shown in the figure, press and tilt slightly forward. This releases the plastic clip from the front cross member.
Pull the radiator up.
Attention: Radiator fins have sharp edges, so it is recommended to wear work gloves when removing the radiator.
Installation
Check all water hoses for cuts, cracks or other damage and, if necessary, replace damaged hoses. Check the condition of the rubber lugs on the radiator.
Screw in the coolant level sensor with a new O-ring.
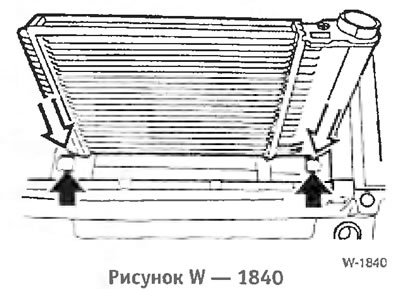
Insert the heatsink from above so that the rubber feet fit exactly into the receiving parts.
If removed, insert the mounting clips into the radiator, press the radiator against the front cross member and snap the clips into place.
Screw the automatic transmission oil hoses with new seals to the radiator, tightening torque 20 Nm.
Connect water hoses and secure with clamps.
If removed, connect the wire of the temperature switch and the level sensor.
Install fan.
Fill with coolant and bleed air from the cooling system.
Only on vehicles with automatic transmission: Check and, if necessary, correct the oil level in the gearbox:
Warm up the engine and check the tightness of the hose connections.
Check and, if necessary, correct the coolant level.