
Apply a label to each connector before disconnecting. These tags will be of great help to you during assembly, when the wiring will need to be passed through the holes in the front panel.
Withdrawal
1. Remove the center console (see paragraph 28).
2. Pull up and remove the handle from the shift lever.
3. Remove facing from the gear lever. Disconnect the wiring connectors from the lining, remembering their location.
4. Remove steering column switches (see chapter 12, paragraph 4).
5. Remove both glove boxes (see paragraph 27).
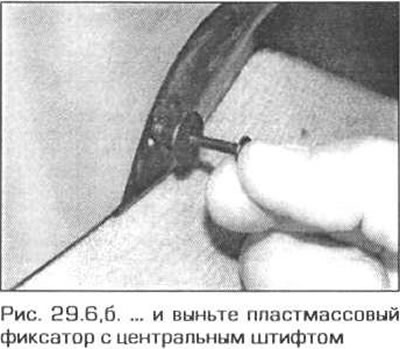
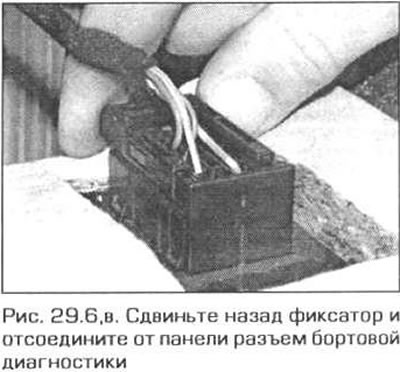
6. Turn out three screws, take out one clamp. unscrew one plastic nut and remove the trim panel located above the pedals. Slide the latch back and remove the OBD connector from the panel. Also, disconnect the backlight connector (pic. 29.6, a-c).

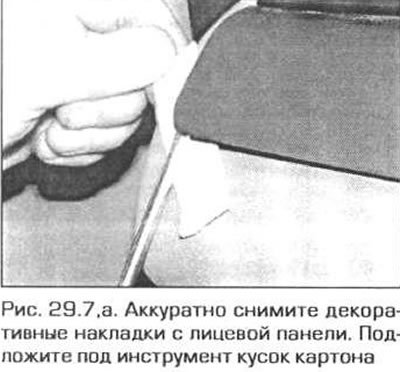
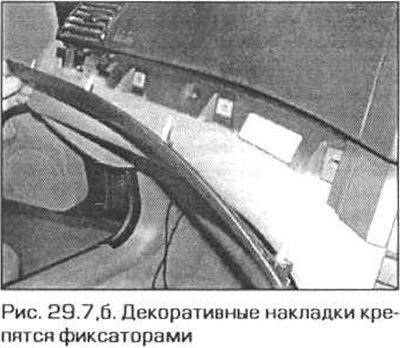
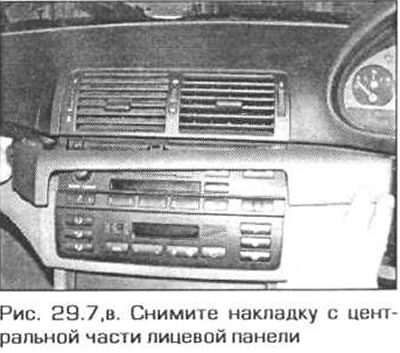
7. Using a plastic spatula, starting from the outer corners. Carefully remove the bezel trims on the driver and passenger sides, then remove the bezel from the center of the bezel (pic. 29.7, a-c).
8. Remove the dashboard (see chapter 12).
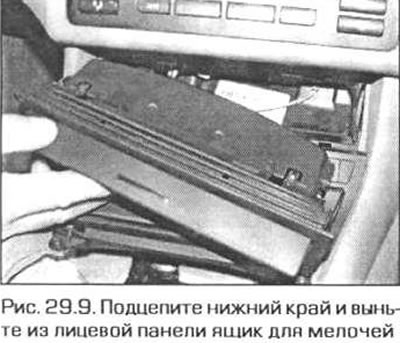
9. Open the lid of the storage box located under the heater control panel. Carefully pry up the bottom edge of the compartment and remove the drawer from the front panel (pic. 29.9). If you are removing the cup storage drawer, lift the drawer slightly, push it back about 2 mm, then press down on the edges of the lid and remove it from the front panel.
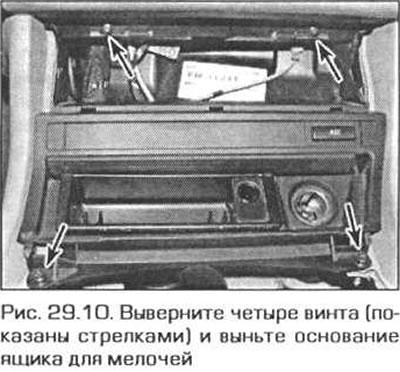
10. Remove the four screws and remove the base of the storage box from the front panel (pic. 29.10). Disconnect the wiring connectors from the base, remembering their location.
11. Remove facing of forward pillars of a body (see paragraph 27).
12. Remove the light switch from the front panel (see chapter 12, paragraph 4).
13. Remove the heater control panel (see chapter 3).
14. Remove the car radio from the front panel (see chapter 12).
15. Remove the passenger airbag unit (see chapter 12).
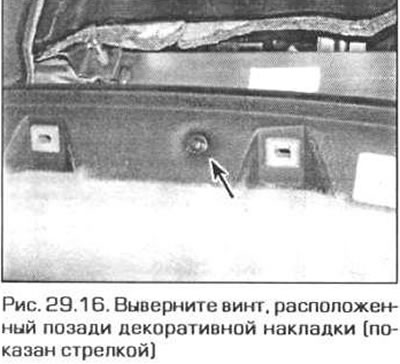
16. On the passenger side, remove the screw that was covered with a decorative trim (pic. 29.16).
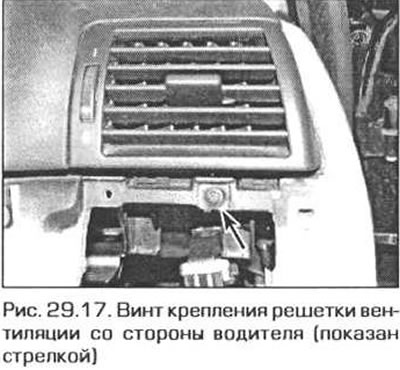
17. Remove the screw (s) and remove the ventilation grille from the driver's side (pic. 29.17).
18. The front panel on the passenger side can be fastened with screws or clips. Loosen the screws or remove the fasteners.
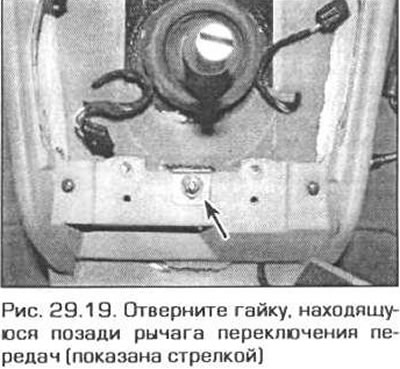
19. Turn away a nut of fastening of the front panel next to the gear lever (pic. 29.19).
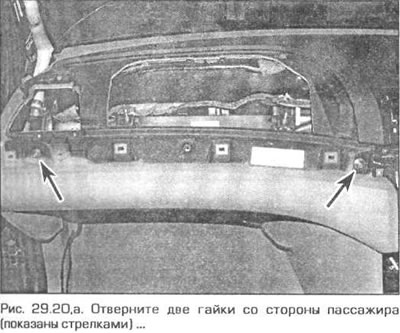
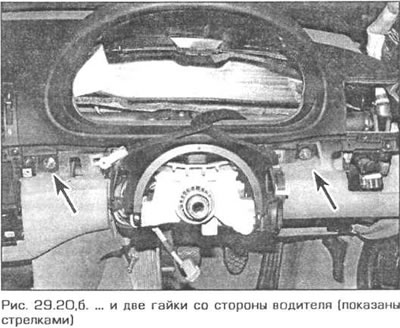
20. Move the front seats all the way back, unscrew the four nuts securing the front panel and, with the help of an assistant, remove the front panel from the bulkhead (pic. 29.20, a, b). Disconnect the ventilation cable from the side wall of the heater. Disconnect all wiring connectors that interfere with the removal of the front panel, noting their location.
Installation
21. Installation is made in sequence, return to removal. Pay attention to the following:
- A) Install the front panel in place and connect all electrical wiring connectors in accordance with the marks made before removal. Secure the wiring connectors in place.
- b) Make sure the bezel tab fits into the corresponding slot. the front edge of the panel has taken the correct position, and all electrical wiring connectors are passed through the holes. Then fix the panel securely.
- V) After installation is complete, connect the battery and make sure. that all switches and appliances are working.