
Withdrawal
Raise the car.
Coat all bolted connections with rust remover and wait until it takes effect.
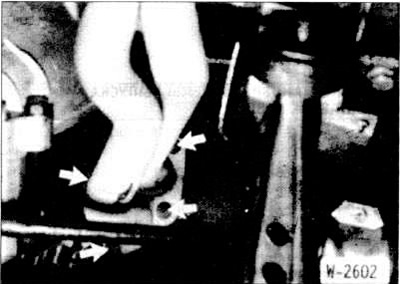
Unbolt the front pipe from the bottom of the exhaust manifold.
Support the exhaust system with a wooden prop.
Vehicles with catalytic converter: Disconnect the lambda probe connector at the front of the front pipe. Unscrew the catalytic converter cover. Unscrew the lambda probe from the front muffler pipe. Rotate the wire together with the probe to avoid damage to the wire.
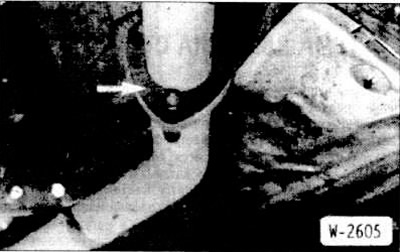
Unscrew the muffler pipe side support.
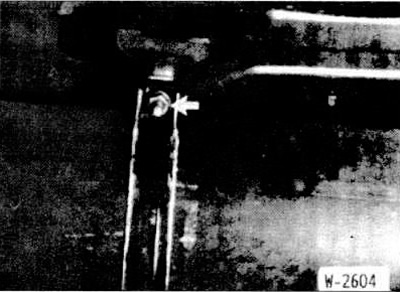
Unscrew the holder of the final muffler.
Lower the exhaust system with an assistant.
Installation
Before installing the exhaust system, check that the exhaust manifold flange is not bent and straighten if necessary.
Coat the exhaust manifold studs with copper paste.
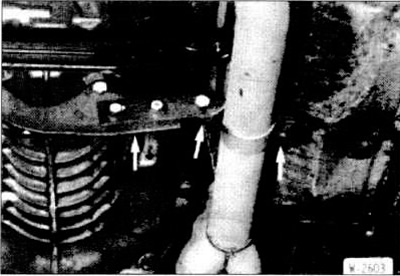
Position the front part of the exhaust system against the manifold and tighten evenly with the young self-locking nuts.
Assemble the front pipe with the pre-silencer and slightly tighten the clamp. If required, before assembly, clean the conical part of the interface of the front fur coat with sandpaper from the remnants of soot. When assembling, make sure that the O-rings are correctly installed. Be sure to install new self-locking nuts.
Attention: It is recommended to cover all bolts and nuts with high temperature paste, such as Liqui Moly LM-508-ASC, then it will be easier to unscrew them later.
Vehicles with catalytic converter: spray lambda probe threads with an aerosol «Antiseize». On model 325e, in order to avoid contact failure, seal the detachable joint with paste «3-Bond-Silicon». Screw the lambda probe into the front pipe and tighten to 55 Nm. Connect connector. Screw on the protective cover.
Align the exhaust system before tightening.
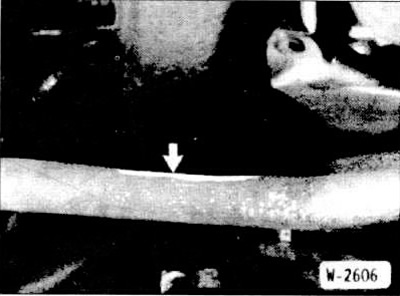
The flat part of the pipe must pass in the area of the channel.
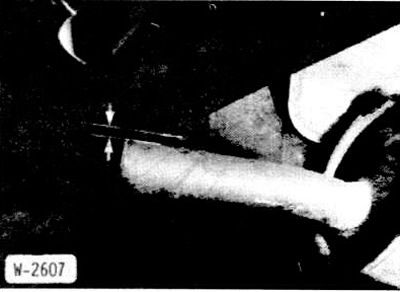
The distance from the pipes to the body must be 25 mm. otherwise, adjust the distance with the end silencer holder.
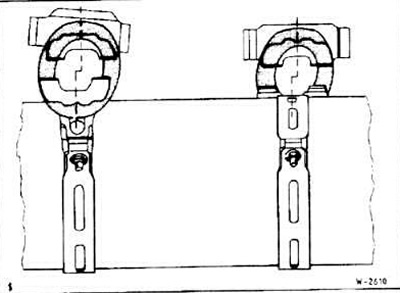
Fasten the brackets of the end muffler so that they are under the tension of the rubber hangers by approx. 6 mm. To do this, with the bracket released, move the end silencer slightly forward. This is necessary because in operation the exhaust system expands from heating and thus occupies the correct position.
Tightening torques for threaded connections of the exhaust system:
- front pipe to exhaust manifold - 45 nm;
- threaded connections of a triangular flange - 22 nm;
- bracket on the gearbox and on the muffler - 22 nm;
- holder on a bracket, on a rubber support - 10 nm;
- end muffler bracket, M20 bolts - max. 14 nm;
- tubular catalyst bracket, M20 bolts - 20 nm, M10 / M30 bolts - 22 nm;
- heat shield of the catalyst - 7 nm.
Start the engine and check the tightness of the exhaust system by covering the exhaust pipe with a rag.
Lower the car.
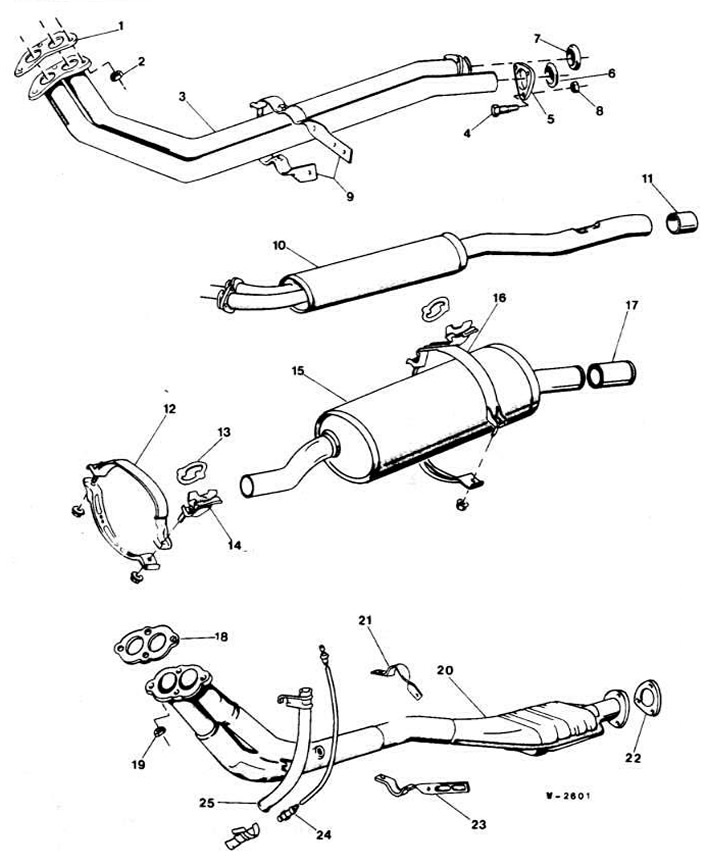
1 Gasket
2 Nut
3 graduation rude
4 Bolt
5 flange
6 O-ring
7 O-ring
8 Nut
9 Staple
10 Pre-silencer
11 Coupling
12 Clamp
13 Rubber ring
14 Holder
15 End silencer
16 Clamp
17 Exhaust nozzle
18 Gasket
19 Nut
20 Front pipe with catalytic converter
21 Retaining bracket
22 Gasket
23 Side support
24 Lambda probe
25 Tube