
Withdrawal
Remove lining.
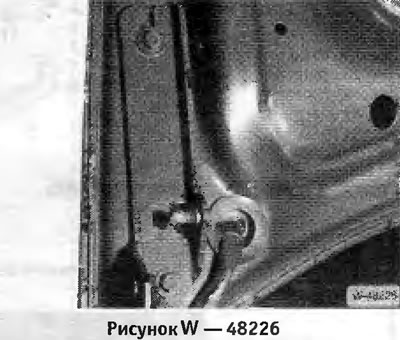
Pull the cable harness out of the luggage compartment lid. To do this, disconnect the connectors from the license plate lights and the central locking system. Tie a cord to the connectors and pull out the cable harness.
Attention: The cord remains in the luggage compartment lid and serves to facilitate installation.
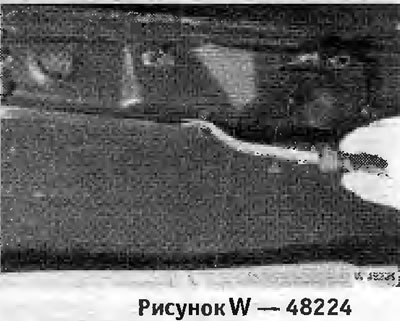
Disconnect the gas-filled shock absorber. To do this, remove the spring clip and press the shock absorber. At the same time, the assistant to support the hood.
Attention: The shock absorber is under pressure.
Mark the position of the bolts and hinges on the luggage compartment lid by marking the bolt heads with a felt-tip pen.
Unscrew the luggage compartment lid and remove with an assistant.
Installation
Install luggage compartment lid, align with markings and secure with bolts. When installing a new cover, slightly tighten the bolts in the middle position, carefully close and adjust the cover.
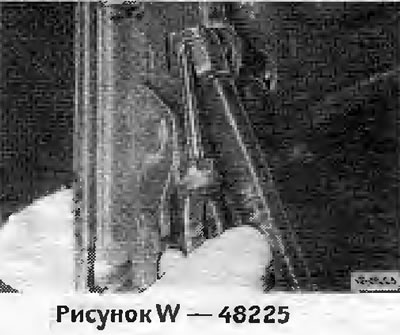
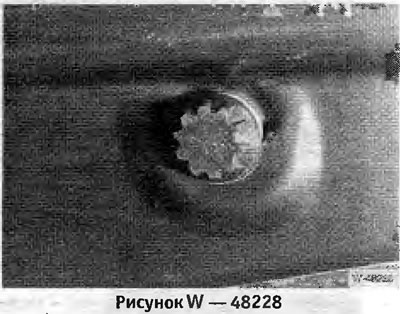
Put the gas-filled stop on the spherical head, after inserting the locking clip -1- from above into the slot, as shown in the figure.
Press the retaining clip down with a screwdriver.
Insert the cable harness into the trunk lid with a cord and connect the connectors for the license plate lights and the central locking system.
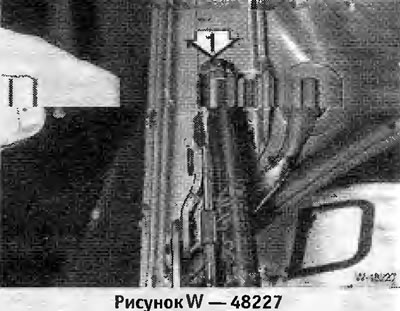
Fasten the cladding. Replace damaged clamps.
Fit the luggage compartment lid.
Fit
Loosen the bolts in the hinges.
Close the luggage compartment lid and align it to the sides with the body.
Tighten the bolts.
To adjust the rear lid in height, fully screw in the stop buffers.
Loosen the bolts securing the locking bracket just enough to allow the locking bracket to move.
Close the luggage compartment lid and move it so that in the closed position the lid is 1mm below the side walls. Tighten the bolts.
Unscrew the stop buffers so that the lid closes with a slight interference fit and is flush with the side walls.