
Note: New seals and gasket may be required for installation - see text.
Withdrawal
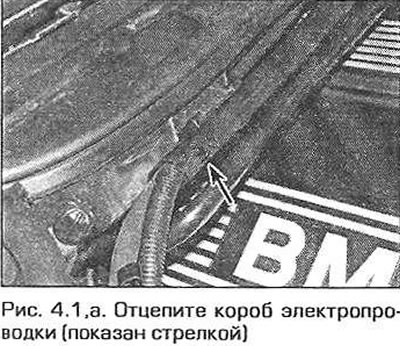
1. To ensure sufficient space, remove the passenger compartment air intake duct at the rear of the engine compartment (pic. 4.1 a, b):
- A) Remove the cabin air filter cover by turning its retainers 90°counterclockwise. Pull the filter out of the housing.
- b) Unfasten the four latches of the wiring box and remove the sleeves with wires from the box.
- V) Remove the four screws and pull the cabin filter housing forward.
- G) In the left rear corner of the engine compartment, pull off the seal, turn the two latches counterclockwise and slide the trim panel slightly forward.
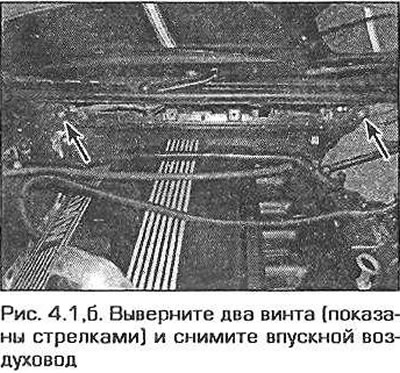
- d) Turn out two screws and remove an air duct.
2. Unscrew and remove the engine oil filler cap.
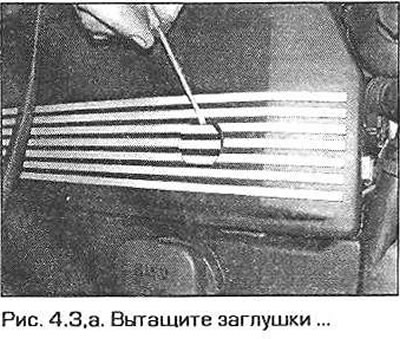
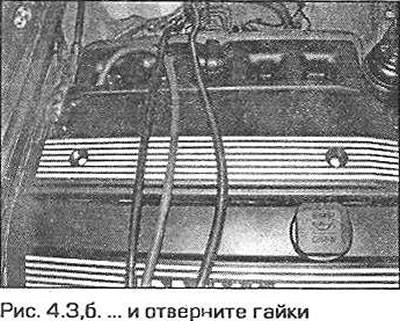
3. Remove the plastic cover from the fuel rail and on top of the cylinder head cover. To remove the covers, pull out the plugs and unscrew the nuts of their fastening. To remove the cover from the cylinder head, lift it, slide it forward and remove it through the oil filler neck (pic. 4.3 a, b).
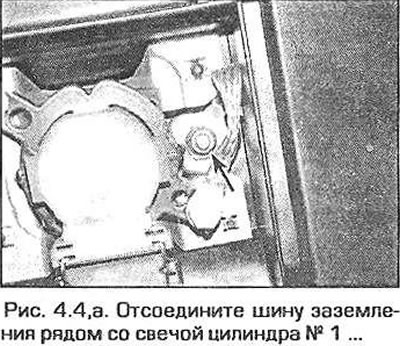
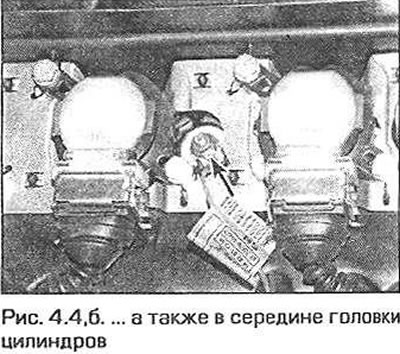
4. Loosen the bolt and disconnect the ground bus from the cylinder head cover near the hole of the No. 1 cylinder spark plug. Also disconnect the ground wires in the middle and behind the cylinder head cover (pic. 4.4 a, b).
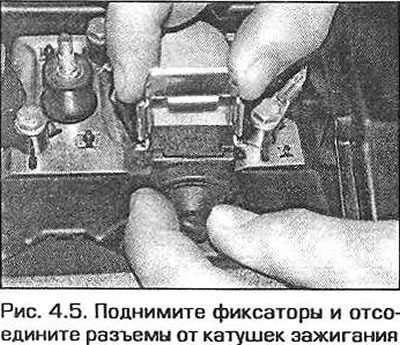
5. Disconnect the electrical connectors from the ignition coils (pic. 4.5).
6. Disconnect from a cover of a head of cylinders conducting and shift it aside.
7. Turn away nuts of fastening of coils of ignition and accurately remove coils from candles (pic. 4.7).

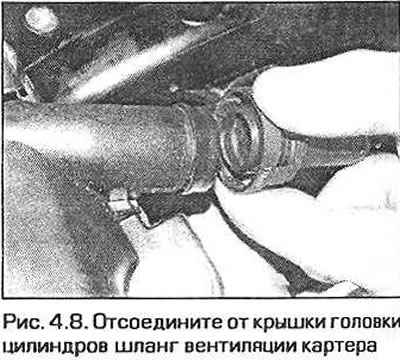
8. Disconnect the crankcase ventilation hose from the side of the cylinder head cover (pic. 4.8).
9. On the right side of the cylinder head cover, disconnect the oxygen sensor electrical connectors and move the wiring to the side.
10. Turn away nuts and bolts of a cover of a head of cylinders (including in the center of the lid) and remove it from the engine. Note the position of the washers, seals and gaskets. Take them off. if they don't hold up well.
Installation
11. First, check the condition of all seals and gaskets. Replace faulty ones.
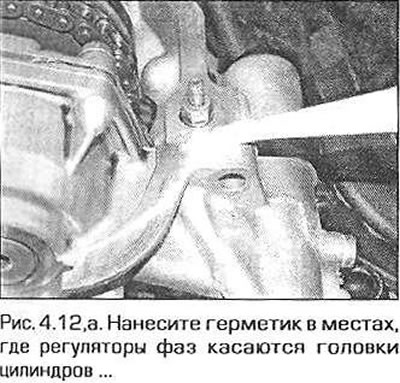
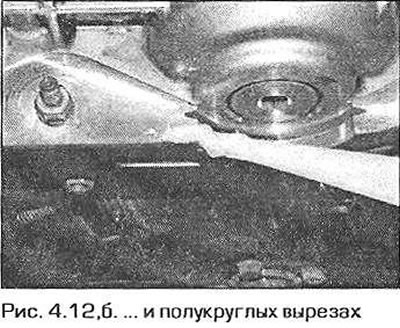
12. Clear interfaced surfaces of a cover and a head of cylinders. Apply Drei Bond 1209 sealant where the timing adjusters touch the cylinder head and at the corners of the semi-circular cutouts on the back of the cylinder head (pic. 4.12, a-c). Lay the outer and inner gaskets on the cylinder head cover.
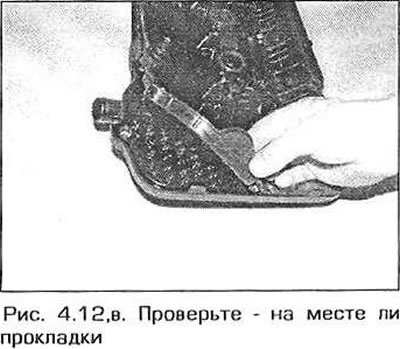
13. Put the cover on the cylinder head, making sure that the gaskets do not move out. Make sure the tabs on the back of the outer gasket fit into the notches in the cylinder head.
14. Fasten the cover with nuts and bolts, making sure that the seals are in their original places, then gradually tighten the fasteners to the required torque.
15. The rest of the installation is carried out in the reverse order of removal, taking into account the following remarks.
- A) Fix the ground wires in their original places.
- b) Tighten bolts and nuts of fastening of coils of ignition the demanded moment.
- V) When connecting high voltage wires to the coils, make sure that the rubber seals are in place.