



Table of contents: Removal ↓ Installation ↓
- Home
- BMW 5 Series
- E34
- Chassis
- Brake system
- Removal and installation the handbrake lever and lever pad
Removal and installation the handbrake lever and lever pad (BMW 5 Series E34)
Removal
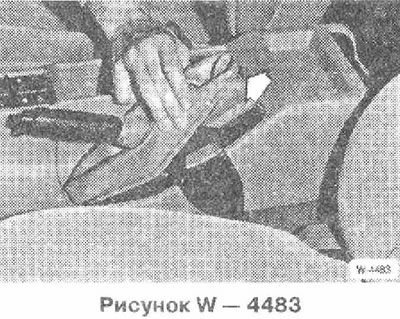
Lift the rubber boot of the handbrake lever at the rear and pull it forward.
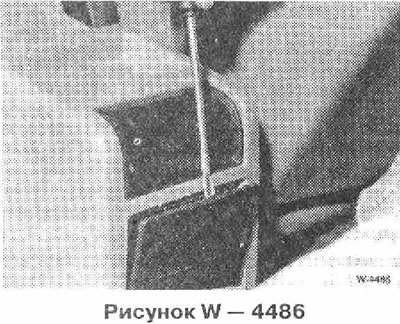
Use a screwdriver to pry the top of the console trim panel and remove the trim panel. You may need to disconnect the rear cigarette lighter wire from the trim panel.
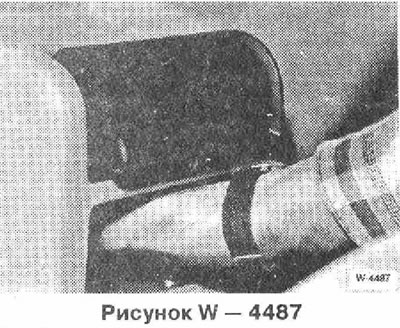
Press down from below and pull out the shelf or, if the equipment is extended, the air nozzle cover.
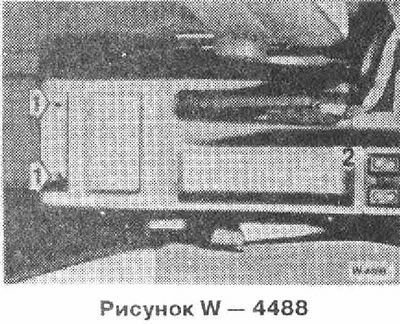
Unscrew nut 1. Use a narrow screwdriver to press the cover off screw 2, unscrew the screw. If the equipment is extended, pull the cassette box out of the shelf to access the screw.
Pull the console upward.
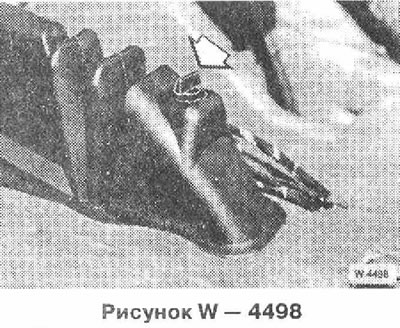
Turn the "arrow" mount 90° and lift the rubber cuff upward.
Unscrew the 2 nuts of the handbrake cable arrows.
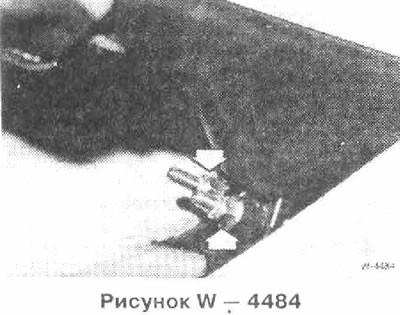
Unscrew the 2 nuts "arrow" of the handbrake cables.
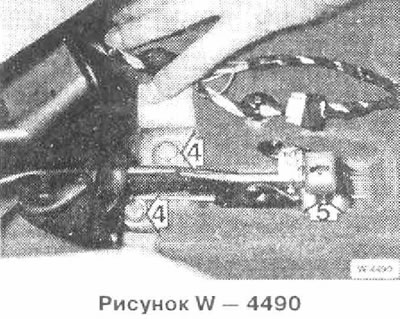
Unscrew 2 bolts 4 and bolt 5. Pull out the handbrake lever.
Installation
Insert the handbrake cables into the handbrake lever, Insert the handbrake lever and screw in bolts 4 and 5.
Tighten the handbrake cable nuts by hand.
Adjust the handbrake.
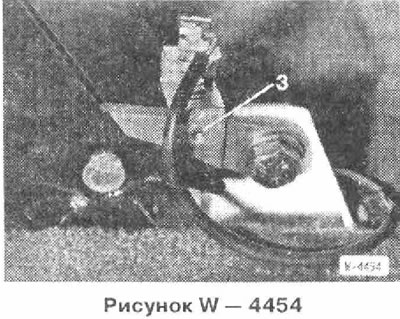
Switch on the ignition. The parking brake indicator lamp should go out when the handbrake is released. If this does not happen, adjust switch 3 accordingly.
Place the protective rubber cap on the handbrake lever and secure it with the clamp. To do this, insert the clamp and turn it 90°.
Insert the console from above and secure with 3 nuts. Screw in the front screw, put a new plastic cover on the screw head.
Insert the shelf and rear console trim.
Secure the handbrake pad to the console.
[The original article is posted on the resource: BMWman.ru]
This article is available at russian, bulgarian, belarusian, ukrainian, serbian, croatian, romanian, polish, slovak, hungarian
Article verified: Polikarpov Saveliy
Share information:
Previous articles
БМВ E34: Brake system
Next articles
Similar articles on other types of BMW cars:
Removal and installation the handbrake lever BMW 3 Series E30 (1982-1994)
Removal and installation the handbrake lever and lever pad BMW 3 Series E36 (1990-2000)
Gear Shift Lever — Removal and Installation BMW 7 Series E32 (1986-1994)
Pistons — removal and installation BMW X3 E83 (2003-2010)
Removal and installation the parking brake lever BMW X5 E53 (1999-2006)
Removal and installation the handbrake lever BMW 3 Series E30 (1982-1994)
Removal and installation the handbrake lever and lever pad BMW 3 Series E36 (1990-2000)
Gear Shift Lever — Removal and Installation BMW 7 Series E32 (1986-1994)
Pistons — removal and installation BMW X3 E83 (2003-2010)
Removal and installation the parking brake lever BMW X5 E53 (1999-2006)
Link in different formats to this page
Visitor comments
No comments yet
- General information
- Governing bodies
- Manual
- Maintenance
- Power unit
- Engine repair
- Lubrication system
- Cooling system
- Ignition system
- Supply system
- Injection system (gasoline)
- Injection system (diesel)
- Exhaust system
- Transmission
- Clutch
- Car gearbox
- Front axle
- Rear axle
- Chassis
- Steering
- Brake system
- Wheels and tires
- Body
- Interior
- Exterior
- Heating system
- Electrical equipment
- Equipment and devices
- Power devices
- Windscreen wipers
- Electrical circuits
- General information
- Manual
- Maintenance
- Power unit
- Engine repair
- Ignition system
- Engine lubrication system
- Cooling system
- Fuel system (gasoline)
- Fuel system (diesel)
- Exhaust system
- Transmission
- Clutch
- Car gearbox
- Chassis
- Front and rear suspension
- Steering
- Brake system
- Body
- Exterior
- Interior
- Electrical equipment
- Heating system
- Equipment and devices
- Power devices
- Electrical circuits
- General information
- Manual
- Maintenance
- Power unit
- Engine in a car
- Engine overhaul
- Cooling system
- Supply system
- Ignition system
- Control system
- Transmission
- Clutch
- Manual gearbox
- Automatic gearbox
- Transmission line
- Chassis
- Steering
- Front suspension
- Rear suspension
- Brake system
- Body
- Body elements
- Car care and painting
- Electrical equipment
- Heater and air conditioner
- Equipment and devices
- Starter and generator
- Electrical circuits
- General information
- Operation and maintenance
- Specifications
- Power unit
- Engine repair
- Cooling and lubrication system
- Supply system
- Ecotronic power supply system
- Fuel injection system
- Ignition system
- Transmission
- Clutch
- Gearbox BMW 242/4
- Gearbox Getrag 262/8
- Gearbox Getrag 265/6
- Automatic gearbox
- Cardan gear
- Rear axle
- Chassis
- Steering
- Front suspension
- Rear suspension
- Brake system
- Electrical equipment
- Equipment and devices
- Electrical circuits