
Withdrawal
Moisten the windshield with water.
Turn on the wiper for about 21 minutes and turn off with the wiper switch. In this case, the brushes are set to their original position.
Mark the initial position of the brushes on the glass with adhesive tape. To do this, stick a strip of adhesive tape directly next to the brush. When installed, the brush arm will be installed in the toothed support so that the brush is located directly next to the glued strip.
Remove the wiper fuse from the fuse box in the engine compartment. The location of the fuses is shown on the cover of the box.
Fully raise the engine compartment hood.
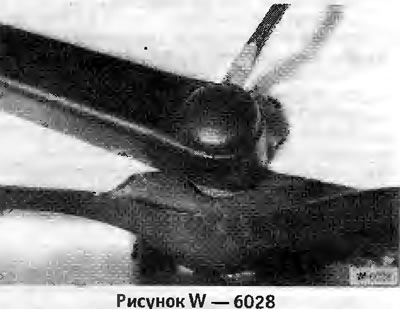
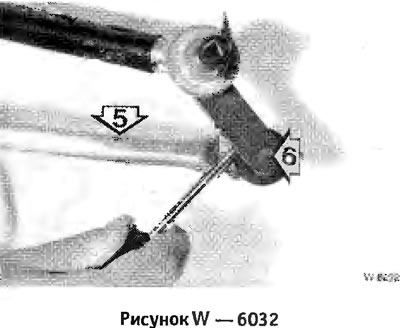
Remove the brush lever cap with a screwdriver.
Loosen the fastening nut located under the cap by about 2 turns.
Close the engine compartment hood.
Deviate the arms of the brushes from the front window by 90°.
Using lateral movements, separate the brush arms from the support cones. Strongly stuck levers should be pulled out with an impact puller, for example Hazet 1966-5. To protect against damage, put a rag on the edges of the engine compartment hood.
Lower the brush arms.
Fully raise the engine compartment hood. Loosen the nuts and remove the brush arms.
Coupe model: Remove aerodynamic trim.
Remove the air box.
Six-cylinder engine. Remove the heater fan and set it aside.
Unbolt the control arms.
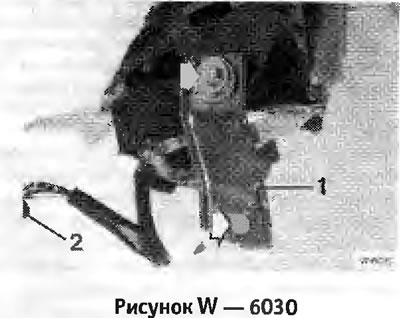
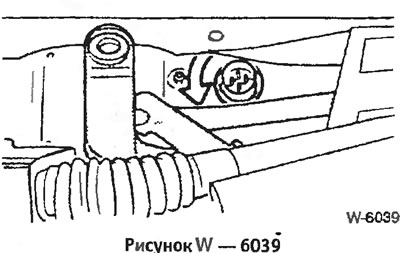
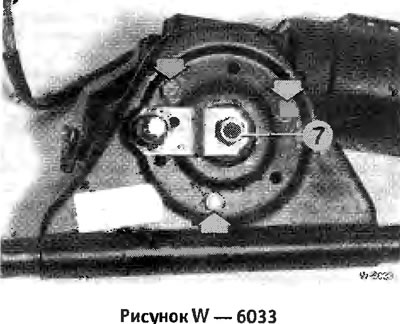
Unscrew the complete support -1-, wrench size 10, long extension or Hazet 428-Lg10.
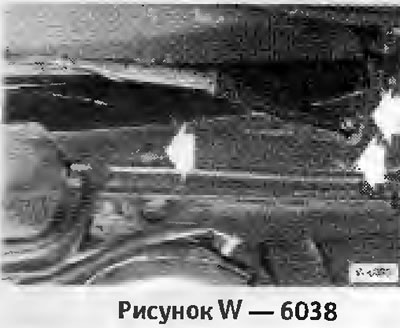
Disconnect the connector on the bulkhead by first unscrewing the union nut.
To remove the wiper, release the connector mount. Attention: Do not embed the plug-in connection into the vehicle interior.
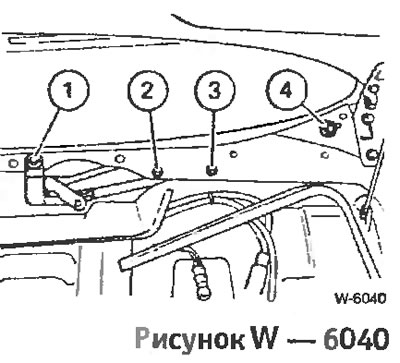
Coupé model only: Remove bolts -1- - -4- from wiper arm.
Wrap the windshield wiper shaft on the driver's side with insulating tape so as not to scratch the fairing paint when pulling it out.
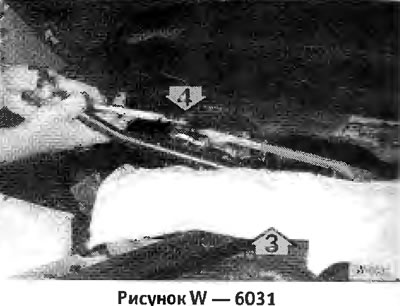
Cover the inside and around the fairing with a cloth -3- to prevent damage and scratches.
Pull pull rods -4- with motor to the right.
Use a screwdriver to press the drive rods -5- out of the ball head -6- on the axle.
Attention: If the running surface of the ball head is damaged, replace the axle or drive shaft crank.
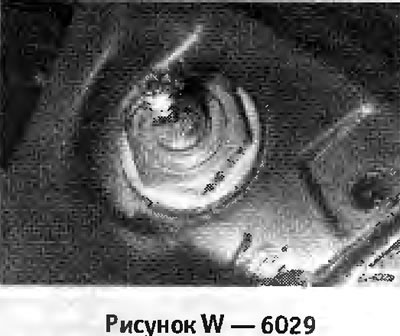
Loosen nut -6- of engine crank and remove crank.
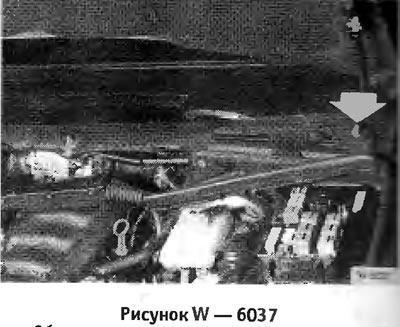
Unbolt engine -arrows-.
Installation
Attention: Before installation, check that the motor is in its original position. To do this, connect the connector to the motor for a while and insert the wiper fuse. Turn on the motor for a while and then turn off the wiper switch to stop the motor in its original position.
Pull out the fuse.
Disconnect connector.
Screw the motor with 3 bolts with a tightening torque of 10 Nm to the console.

Push the cranks onto the motor shaft so that the pin -8- enters through the holes in the crank and console.
Hold cranks in this position with a pin and tighten nut -7- to 30 Nm.
Fit the drive rods so that the central axes of the cranks and the drive rod on the front passenger side are in line.
Insert wiper arms with motor through holes in fairing
Connect the connector on the bulkhead and secure by turning the plastic cap nut to the right.
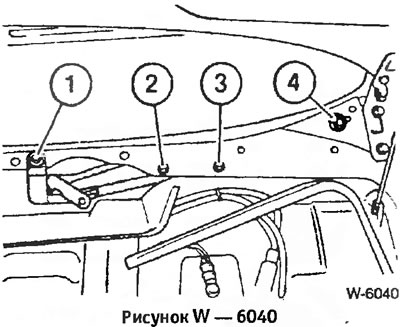
Coupe model: The fixing bolts must be tightened in a certain sequence: bolt 4 is tightened first, then 1 and then bolt 3.
Screw on wiper arm support with a tightening torque of 10 Nm.
Fasten the lever support nuts.
Install the heater fan.
Install the air box.
Position the brush levers in accordance with the marks made during removal and tighten the nuts to a torque of 25 Nm. With a new adjustment, measure the distance from the brush to the lower edge of the glass with a ruler. Target values: limousine: 50 mm (at both sides); coupe: 40 mm.
Close the engine compartment hood.
Moisten the front glass and check the installation of the brushes in the original state. Reposition brush arms if necessary.
Attention: After trial operation of the brushes at the first and second speed, tighten the brush nuts to a tightening torque of 25 Nm.
Install the brush lever caps.