
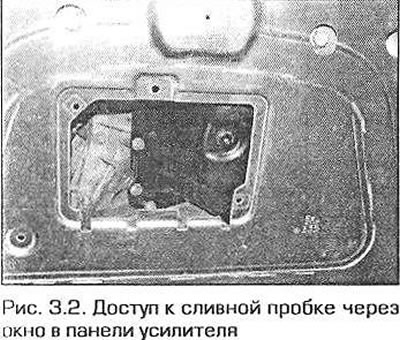
2. Before starting work, make sure you have everything you need. Also prepare plenty of rags or old newspapers to clean up spilled liquid. It is desirable that the engine is warm before draining the oil. Warm oil drains faster and also better removes all the dirt and deposits accumulated in the pan. But be careful - the exhaust system can be quite hot. To protect your hands from burns, as well as from the effects of used oil, it is recommended to do this work in gloves. It is more convenient to work by placing the car on a ramp or inspection pit, or lifting it with a hydraulic lift. If you do not have such devices, you can do this work by simply lifting the car with a jack and placing reliable supports under it. In any case, the car should be horizontal, so that the drain plug is at the lowest point. If necessary, remove the crankcase guard from under the engine. On models with a booster, between the lower arms of the front suspension, access to the drain plug is opened through window 8 of the booster panel, closed by a flap (Fig. 3.2).
3. Locate the oil filter in the engine compartment. It is located on the left side of the engine crankcase, in front of the intake manifold.
4. Place plenty of rags under the filter to prevent spilled oil from spreading across the floor.
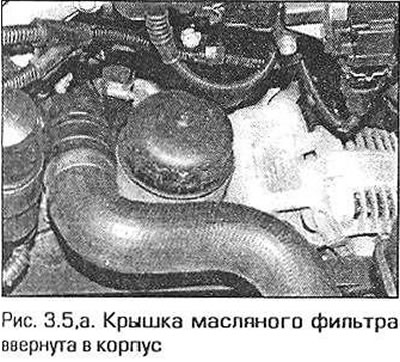
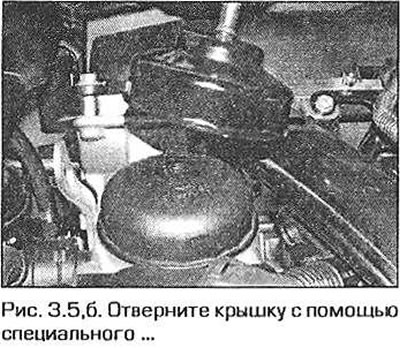
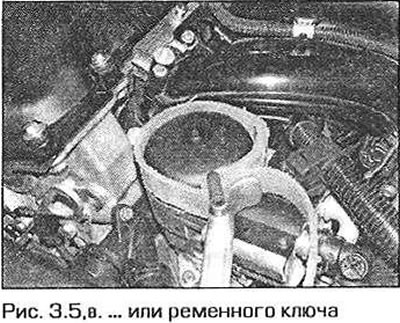
5. With a special or universal belt wrench (fig. 3.5,a-c) unscrew the filter cover and remove the replacement cartridge.
6. Remove the sealing rings from the cover.
7. Using a clean cloth, wipe the mating surfaces of the housing and filter cover.
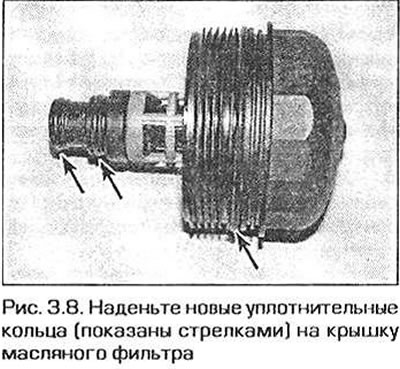
8. Place new sealing rings on the cover (Fig. 3.8).
9. Place the new cartridge into the filter housing.
10. Moisten the filter cover sealing rings with engine oil and screw the cover on. If you have a special cover key, tighten the cover to 25 Nm. If you don't have such a key, tighten the cover securely with a belt wrench.
11. Under the car, unscrew the drain plug of the pan by half a turn (see fig. 3.2). Place a suitable container under the drain hole, then completely unscrew the plug. When the plug is almost unscrewed, press it up against the pan and unscrew it until the end, and then quickly pull your hand with the plug away from the hole. In this case, the oil will flow into the container, and not into your sleeve.
12. Remove the sealing ring from the plug.
13. Allow the used oil to drain into a container. As the oil stream decreases, you may need to move the container. Feel the used oil for metal particles and shavings.
14. After all the oil has drained, wipe the drain plug with a clean rag. Check the condition of the plug seal. Wipe the area around the drain hole, screw the plug in and tighten it securely (Fig. 3.14).

15. Remove used oil and tools from under the vehicle. Lower the vehicle to the ground.
16. Remove the dipstick, then unscrew the oil filler cap. Fill the engine with the recommended type and quantity of oil. Use a funnel to avoid spilling oil. First, fill in half the required amount of oil. Wait a few minutes for the oil to drain into the pan. Continue adding oil in small portions until the oil level reaches the lower mark on the dipstick. Then add oil to the level corresponding to the upper mark on the dipstick. Replace the dipstick and tighten the oil filler cap.
17. Start the engine and let it run for a few minutes. During this time, inspect the affected areas - the drain plug and filter - and make sure that no oil is leaking from under them. If there is a leak, stop the engine and tighten the plug or filter. Keep in mind that when you first start the low oil pressure indicator light on the dashboard will go out a little later than usual, since the oil must fill all the channels of the system.
18. Turn off the engine and wait a few minutes for the oil to drain into the pan, then check its level again. If necessary, add the required amount of oil so that its level reaches the upper mark on the dipstick.
19. Used oil cannot be used in this condition - it must be disposed of or sent for recovery. Do not pour oil onto the ground or into the sewer.