
Adjustment of the handbrake must be carried out as part of maintenance if the handbrake lever cannot be tightened more than 8 teeth.
Remove one wheel bolt on each wheel.
Raise the rear of the car.
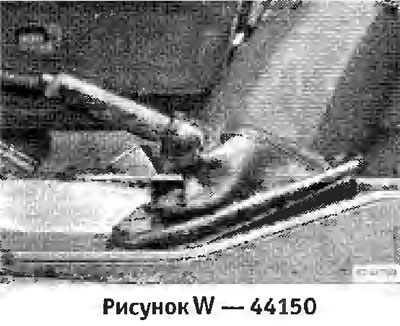
Lift up from behind and remove the handbrake lever cover.
Loosen the 2 adjusting screws of the handbrake cable "arrows".
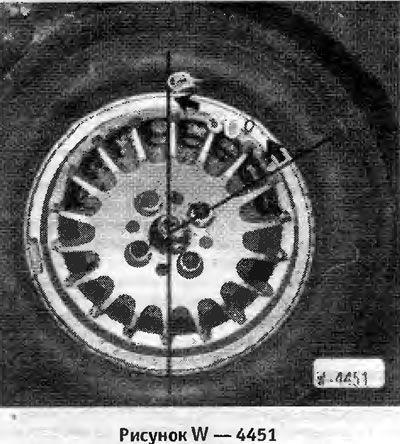
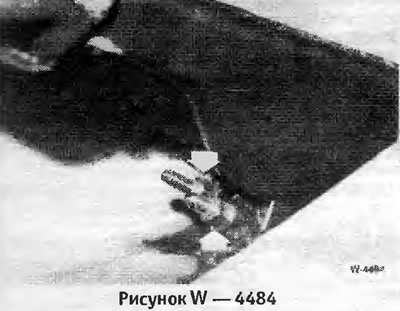
On each wheel, completely unscrew one bolt. The threaded hole should be located at the bottom rear at approximately 30° to the vertical. Illuminate the threaded hole with a portable lamp, where the nut of the installation mechanism should be visible.
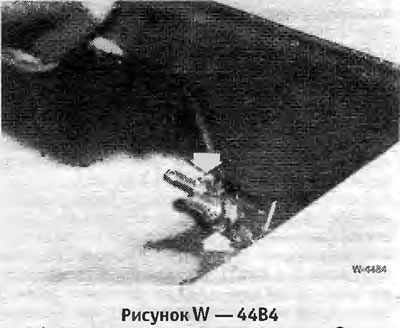
(Figure W 4482) Apply screwdriver "2" to the mounting nut-1-, turn the nut until it is impossible to turn the brake disc by hand. Then unscrew the mounting nut 3-4 teeth back. When turning the mounting nut on the left side of the car up, the brake shoes are pressed against the drum. On the right side of the car, the mounting nut must be turned down for this.
After adjustment, check the ability of the brake disc to rotate freely, and if necessary, unscrew the installation nut a little further back. The brake discs must rotate freely.
Adjust the handbrake cable. To do this, tighten the handbrake lever by 4 teeth and screw the adjusting nuts "arrows" onto the cable so that the left and right rear wheels can still rotate evenly by hand. Release the handbrake lever and check that the wheels rotate freely. If necessary, repeat the adjustment.
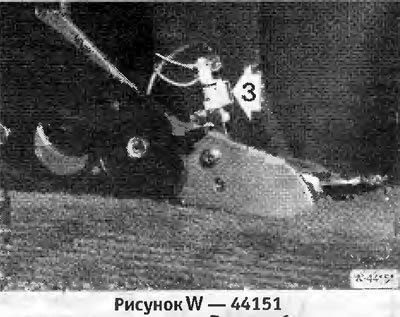
Turn on the ignition. When the handbrake is released, the control lamp on the instrument panel should go out. If this does not happen, adjust the limit switch "3".
Install the handbrake lever cover.
Lower the car.
Install the 2 rear wheel bolts and tighten them to 110 Nm. Put on the decorative wheel covers.
The article was copied from an online resource: «www.bmwman.ru»