
Removal
This Section applies to all front suspension strut assemblies and rear suspension spring and shock absorber assemblies.
If there are obvious signs of wear on the struts, shock absorbers or coil springs (such as fluid leakage, loss of shock absorbing ability, damaged, stretched or cracked coil springs), check all parameters before starting any work. Struts or shock absorber assemblies with a spring are available in workshops for exchange, which significantly saves labor and time. Before disassembling a car, always check the cost and availability of the parts you need.
Removal a strut or shock absorber/spring assembly is a potentially dangerous task and requires extreme caution or serious injury. Use only a high-quality spring compressor tool and carefully follow the manufacturer's instructions provided with the tool. After removing the coil spring from the strut assembly, store it in a separate, safe location.
1. Remove the suspension strut or shock absorber assembly (see section Removal and installation the front suspension strut assembly). Place the assembly in a vice. Protect the vice jaws with wooden blocks or rags to prevent damage to the assembly, and do not overtighten the vice.
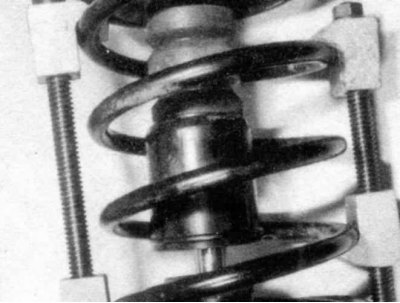
2. Follow the manufacturer's instructions to install the spring compressor tool (it can be purchased at most auto parts stores or borrowed) on the spring and compress it enough to remove all tension from the suspension support. You can check this by shaking the spring.
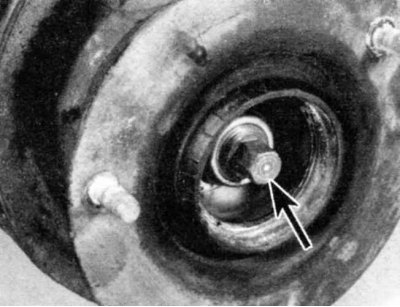
3. Remove the protective cap from the shock absorber's self-locking nut. Loosen the nut with a wrench while holding the shock absorber still with another wrench.
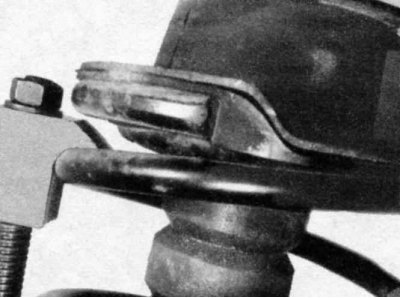
4. Loosen the nut, remove the strut bearing, insulator and large washer. Check if the bearing works easily. If it sticks, replace it. Check the rubber insulator for wear and cracks, and replace it if necessary.
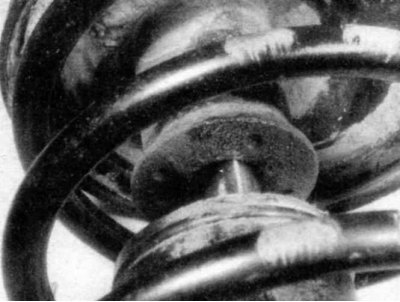
5. Remove the spring retainer and the rubber ring on top of the spring. Check the ring for cracks and hardening. Replace it if necessary.
6. Carefully remove the compressed spring from the strut assembly and place it in a secure location such as a steel cabinet.
Never tilt your head close to the end of the spring!
7. Remove the protective tube and rubber buffer from the shock absorber. If they are worn or damaged, replace them.
8. When working on the front suspension strut, loosen and remove the threaded collar, then pull the old strut assembly out of the strut housing. Drain the old oil from the housing.
9. On all struts except gas-filled ones, fill the strut body with 42 to 47 cm³ (on models 518i and 520i) or from 20 to 25 cm³ (on other models) motor oil (the oil helps cool the shock absorber by transferring heat to the strut body).
It doesn't matter which motor oil you use.
10. Install in the reverse order. Tighten the threaded collar to the required torque. Make sure that the end of the coil spring is flush with the flange of the rubber ring and the spring holder. Tighten the shock absorber nut to the required torque.
11. Install the suspension strut or shock absorber assembly (see section Removal and installation the front suspension strut assembly).