



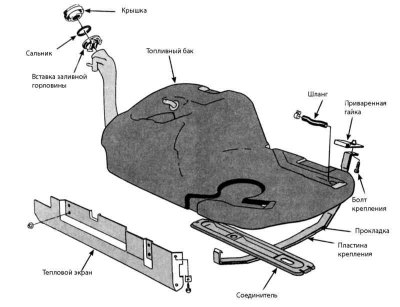
1. To relieve pressure inside the fuel tank, remove the filler cap.
2. On fuel injected models, relieve fuel system pressure.
3. Disconnect the negative battery cable.
Remember that fuel is a highly flammable liquid - take special precautions when working with fuel system components. Do not smoke or go near open flames. Also, do not service the system in a garage equipped with natural gas heaters and a pilot torch. Wear safety glasses and keep a working fire extinguisher handy when performing work. If fuel accidentally comes into contact with exposed areas of the body, wash it off immediately with plenty of water.
To prevent large amounts of fuel from leaking, make sure the tank is nearly empty before performing this procedure (if possible).
If your vehicle's radio has an anti-theft system, make sure you know the correct activation code before disconnecting the battery. Before disconnecting the wire, refer to Section Anti-theft audio system and instrument cluster language.
If a message in another language appears on the instrument cluster display after connecting the battery, refer to Section 1 for the language setting procedure Anti-theft audio system and instrument cluster language.
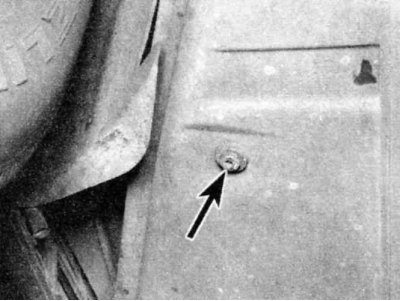
4. Unscrew the drain plug of the fuel tank and drain the fuel into a suitable container. If there is no plug, you can drain the fuel using a siphon (but not with the mouth), otherwise the fuel will have to be drained when removing the tank.
5. Disconnect the fuel pump/fuel level sensor assembly electrical connector (if applied) and disconnect the fuel supply, fuel return and vapor vent hoses (see section Removal and installation the fuel pump, intermediate pump and fuel level sensor). If applicable, remove the rear seat to gain access.
6. When replacing fuel hoses, also use only original materials.
7. Remove the fuel tank protection.
8. Disconnect the fuel filler neck and ventilation hose.
9. Raise the vehicle and support it on stands. On some models it is necessary to remove the exhaust system and driveshaft.
10. Place a roller jack under the tank.
11. To protect the tank, place a block of wood between the jack base and the fuel tank.
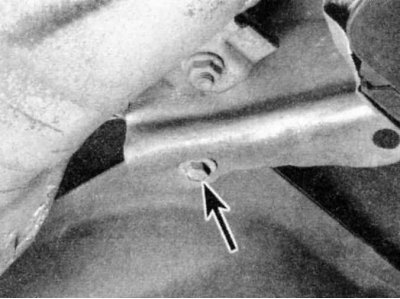
12. Remove the mounting bolts from the corners of the fuel tank (one is indicated by an arrow)...
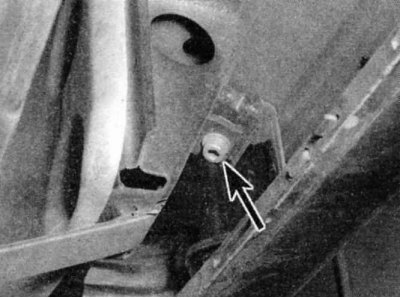
...and unscrew the mounting plate bolts. Rotate the plates down so that they come out of the tank.
13. Lower the tank until you can see the top and make sure everything is disconnected. Lower the tank completely and remove it from under the car.
14. Installation is the reverse of removal.
The article text was copied from an online resource: www.bmwman.ru