
Door speakers
1. Remove the door lining (see chapter 11).
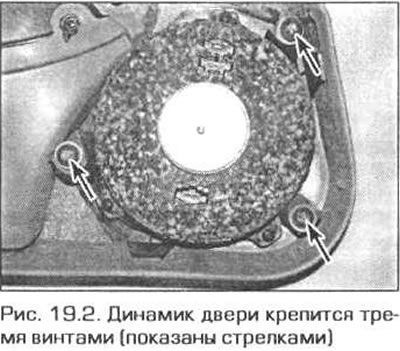
2. Remove the three screws and remove the speaker from the casing (pic. 19.2).
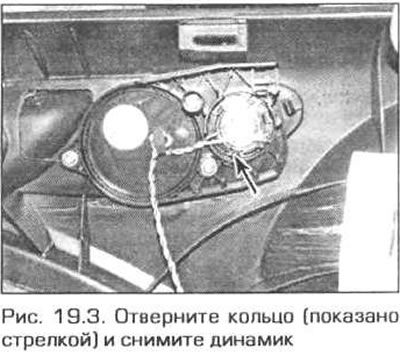
3. Unscrew the large ring and remove the small speaker from the casing (if it exists) (pic. 19.3).
4. Installation is made in sequence, return to removal.
Top door speaker
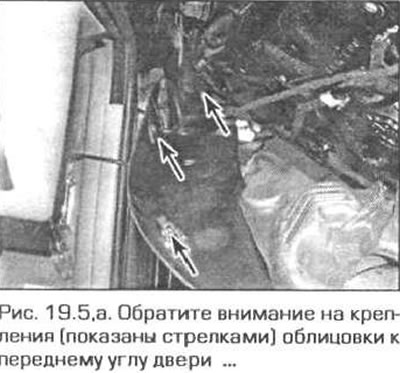
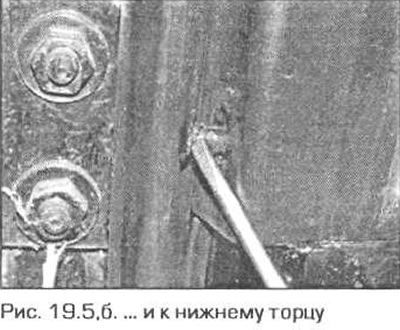
5. Carefully remove the lining from the front inner corner of the door (pic. 19.5, a, b).
6. Remove the door lining (see chapter 11).
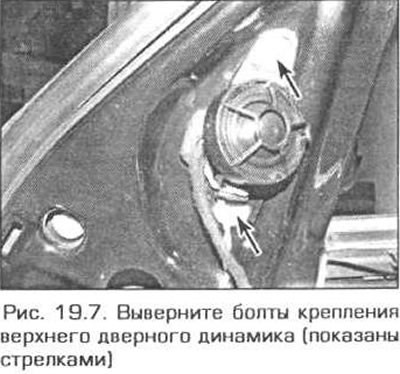
7. Disconnect the electrical connector from the speaker, remove the two screws and remove the speaker (pic. 19.7).
8. Installation is done in sequence. reverse withdrawal.
Luggage compartment speaker
9. Remove the corresponding side panel lining the luggage compartment (see chapter 11, paragraph 27).
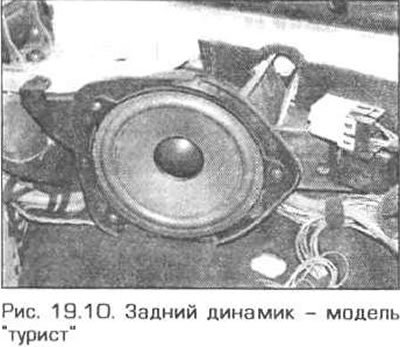
10. Turn out screws of fastening and remove the loudspeaker. Disconnect the electrical connectors from the speaker (pic. 19.10).
11. Installation is carried out in sequence. reverse withdrawal. Make sure the speaker is installed correctly.
Rear speaker
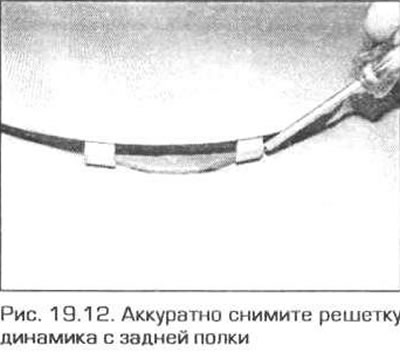
12. Carefully remove the speaker grille from the rear shelf (pic. 19.12).
13. Remove the mounting screws and lift the speaker. Disconnect the electrical connector from the speaker.
14. Installation is made in sequence, return to removal.