
Table of contents: Cleaning ↓ Adjustment ↓
- Home
- BMW 5 Series
- E28
- Power unit
- Supply system
- Cleaning and adjusting the carburetor
Cleaning and adjusting the carburetor (BMW 5 Series E28)
This section describes the procedure for the 2B4 carburetor. The procedure for the 2BE carburetor is similar.
Cleaning
1. Purchase a complete set of gaskets and seals for the carburetor.
2. Wash the outer surfaces of the carburetor.
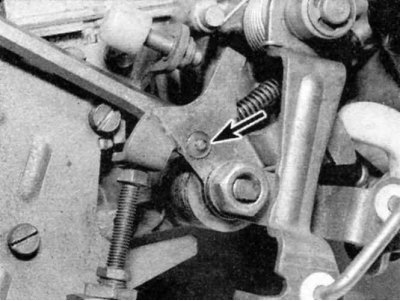
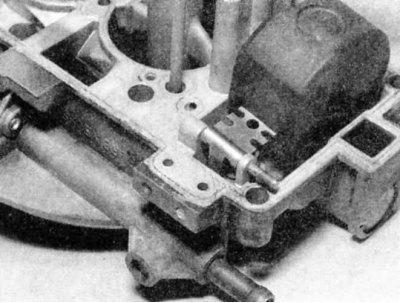
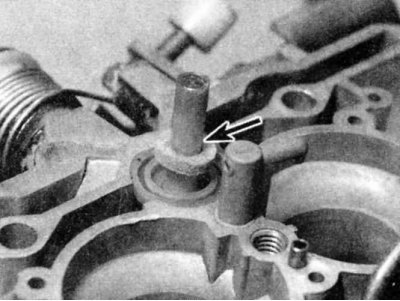
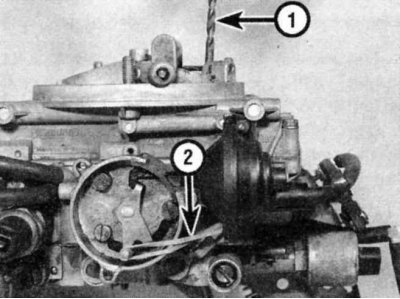
3. Using a screwdriver, unhook the accelerator pump rod from the primary throttle lever (shown by arrow).
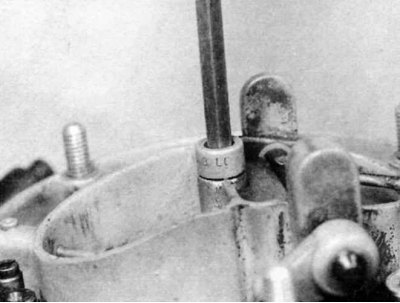
4. Unscrew the bolts securing the cover to the main body. A rod wrench is required to unscrew the central bolt.
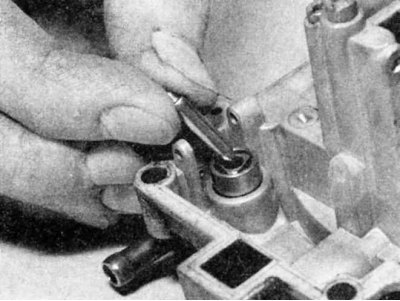
5. Disconnect the rod from the plastic air damper lever (shown by arrow).
6. Detach the cover from the main body and remove the gasket.
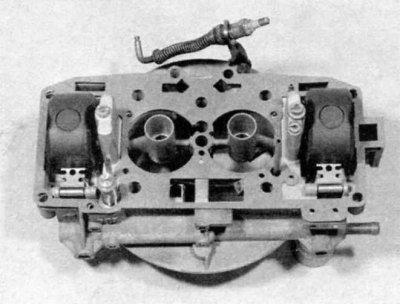
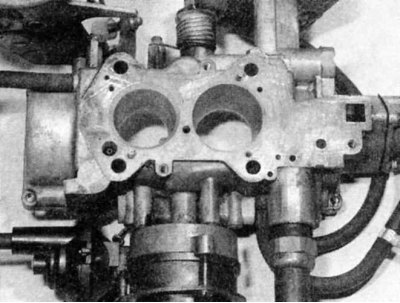
View of the lid from the inside.
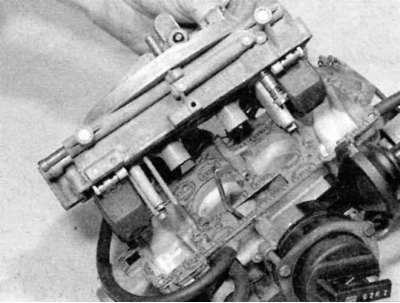
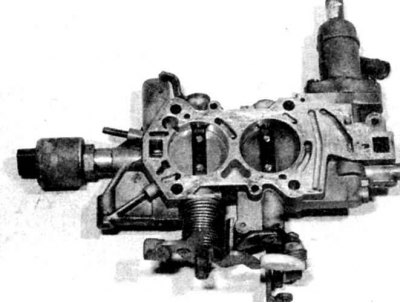
View of the carburetor without the cover.
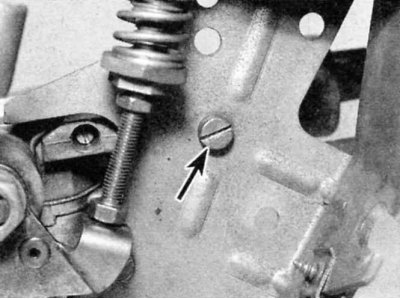
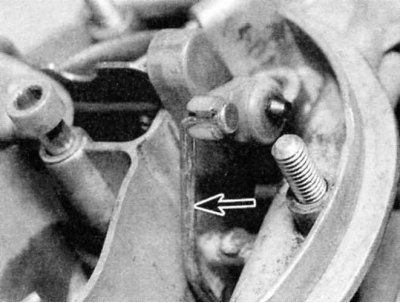
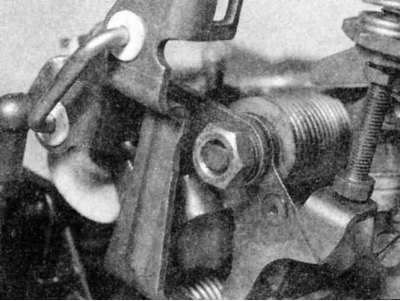
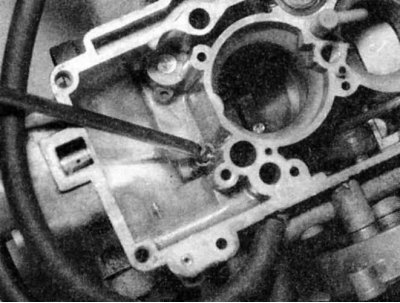
7. Loosen the screw securing the throttle actuator bracket to the throttle body (shown by arrow).
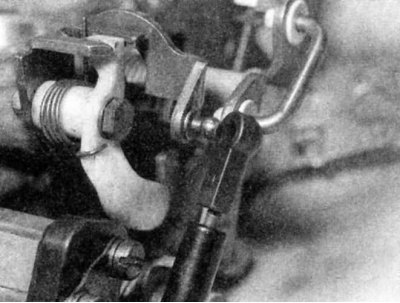
8. Disconnect the vacuum actuator rod from the secondary chamber throttle lever.
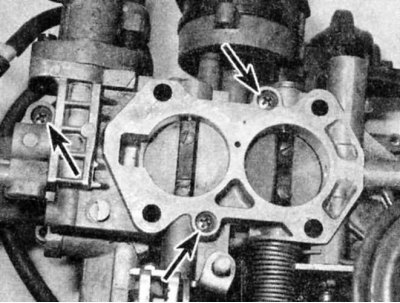
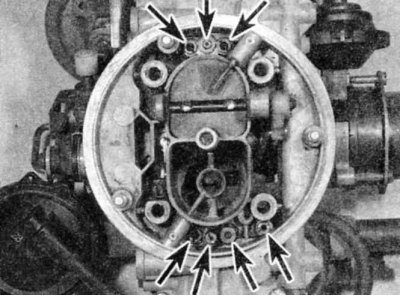
9. Loosen the screws securing the throttle body to the main body.
10. Disconnect the intermediate throttle rod. If this proves difficult, unscrew the nut and disconnect the lever from the primary chamber throttle shaft, taking care not to damage the return spring.
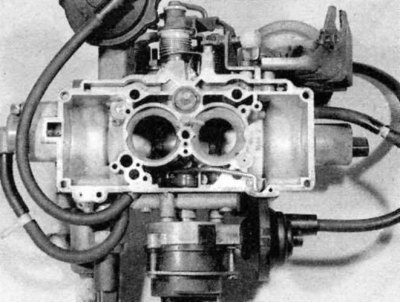
11. Disconnect the throttle body from the main body and remove the gasket.
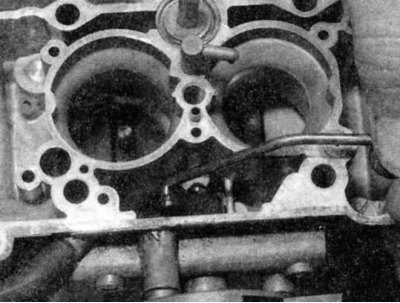
Bottom view of the main body without the throttle body - note the gasket:
12. Turn the cover over, push out the float axes, remove the floats...
...and remove the needle valves - keep them in the correct order.
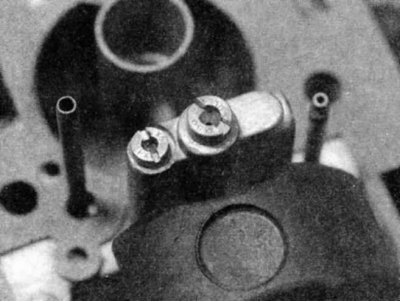
13. Remove the direct feed fuel jet from the secondary float chamber,..
...then similarly unscrew the jets from the cover - keep them in accordance with the location.
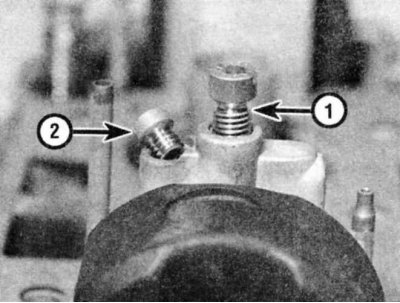
Secondary main jet (1) and fuel jet TM (thermo-starter)(2).
Secondary main jet (left) and TM fuel jet (right) wrapped in a cap.
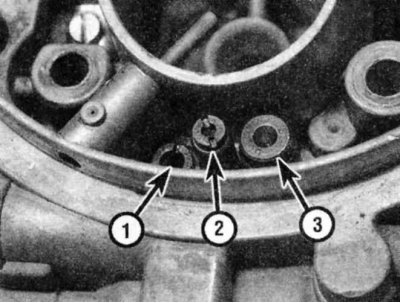
Secondary direct feed air jet (1), TM air jet (2) and corrective air jet (3).
Position of the jets in the cover (shown by arrows).
14. Clean all components and blow out the internal passages with low pressure air.
15. Assembly is the reverse of disassembly, however, please note the following points:
- Install new gaskets and seals from the repair kit.
- Before installing the cover, check that the air damper rod is properly connected to the lever.
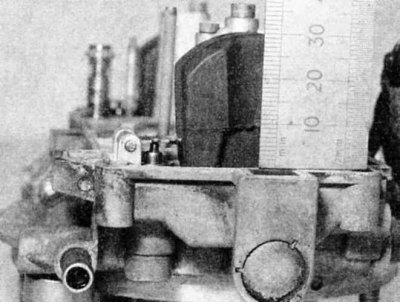
- Check and adjust float settings if necessary. Turn the lid over and check the distance from the mating surface (without gasket) to the top of the float, making sure that the spring-loaded ball of the needle valve is not pressed. Note that this distance is not the same for the primary and secondary floats (see Table of sizes and adjustment data at the end of the Manual). If adjustment is required, then bend the float lever as required.
- Make sure there is a seal installed on the top of the accelerator pump.
Adjustment
Adjustments to idle speed and mixture quality are described in Chapter Routine car maintenance.
Automatic air damper (2B4)
1. Check that the alignment marks on the body and cover of the automatic air damper are clearly visible; if not, apply new marks.
2. Unscrew the three screws and remove the metal ring.
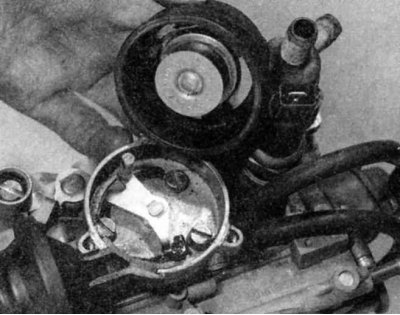
3. Remove the plastic ring while simultaneously disconnecting the bimetallic spring from the control lever.
4. Attach a rubber band (2) to the bottom of the control lever. Press the lever to the right and use a 4.2 mm drill (1) to check the distance between the lower edge of the air damper and the carburetor wall. To move the lever, periodically apply vacuum to the vacuum drive.
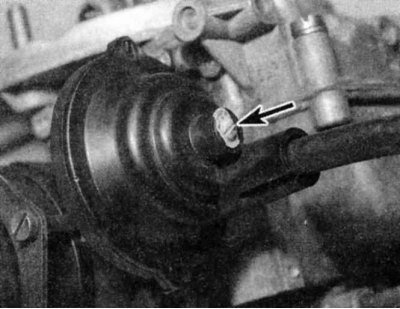
5. If adjustment is necessary, rotate (shown by arrow) at the end of the vacuum drive.
6. Reinstall the cover in reverse order, making sure the marks are aligned.
Throttle actuator (2B4)
1. With the throttle in the idle position, check that the spring length is 23.0±1.0 mm. If not, adjust with the nut.
2. When there is no vacuum (the engine is not working), check that the lever stroke measured between the lock screw and the lever is 5.0±0.5 mm. If necessary, loosen the lock nut and rotate the diaphragm rod. After adjustment, tighten the lock nut.
Throttle actuator (2BE)
Complex adjustment of the 2BE carburetor requires special tools. Therefore, such work should be entrusted to a BMW dealer.
This article is available at russian, bulgarian, belarusian, ukrainian, serbian, croatian, romanian, polish, slovak, hungarian
Article verified: Zhuravleva Isolda
Share information:
Previous articles
БМВ E28: Supply system
Next articles
Similar articles on other types of BMW cars:
Adjusting the Solex DIDTA 32/32 carburetor BMW 3 Series E21 (1975-1983)
Cylinder head — cleaning and inspection BMW 7 Series E32 (1986-1994)
Adjusting the shift balancer BMW 7 Series E38 (1994-2001)
Diagnostics and cleaning of fuel injectors BMW X3 E83 (2003-2010)
Checking and adjusting idle speed and CO levels BMW X5 E53 (1999-2006)
Link in different formats to this page
Visitor comments
No comments yet
- General information
- Governing bodies
- Manual
- Maintenance
- Power unit
- Engine repair
- Lubrication system
- Cooling system
- Ignition system
- Supply system
- Injection system (gasoline)
- Injection system (diesel)
- Exhaust system
- Transmission
- Clutch
- Car gearbox
- Front axle
- Rear axle
- Chassis
- Steering
- Brake system
- Wheels and tires
- Body
- Interior
- Exterior
- Heating system
- Electrical equipment
- Equipment and devices
- Power devices
- Windscreen wipers
- Electrical circuits
- General information
- Manual
- Maintenance
- Power unit
- Engine repair
- Ignition system
- Engine lubrication system
- Cooling system
- Fuel system (gasoline)
- Fuel system (diesel)
- Exhaust system
- Transmission
- Clutch
- Car gearbox
- Chassis
- Front and rear suspension
- Steering
- Brake system
- Body
- Exterior
- Interior
- Electrical equipment
- Heating system
- Equipment and devices
- Power devices
- Electrical circuits
- General information
- Manual
- Maintenance
- Power unit
- Engine in a car
- Engine overhaul
- Cooling system
- Supply system
- Ignition system
- Control system
- Transmission
- Clutch
- Manual gearbox
- Automatic gearbox
- Transmission line
- Chassis
- Steering
- Front suspension
- Rear suspension
- Brake system
- Body
- Body elements
- Car care and painting
- Electrical equipment
- Heater and air conditioner
- Equipment and devices
- Starter and generator
- Electrical circuits
- General information
- Operation and maintenance
- Specifications
- Power unit
- Engine repair
- Cooling and lubrication system
- Supply system
- Ecotronic power supply system
- Fuel injection system
- Ignition system
- Transmission
- Clutch
- Gearbox BMW 242/4
- Gearbox Getrag 262/8
- Gearbox Getrag 265/6
- Automatic gearbox
- Cardan gear
- Rear axle
- Chassis
- Steering
- Front suspension
- Rear suspension
- Brake system
- Electrical equipment
- Equipment and devices
- Electrical circuits