
Table of contents: Removal ↓ Installation ↓
- Home
- BMW 7 Series
- E32
- Transmission
- Automatic gearbox
- Automatic transmission — removal and installation
Automatic transmission — removal and installation (BMW 7 Series E32)
Removal
Disconnect the gear shift cable from the automatic transmission.
Disconnect the connectors from the automatic transmission by pressing the wire fastener.
Unscrew the bolts and remove the mount for the oil lines going to the automatic transmission oil cooler from the engine oil pan.
Release the radiator oil line fastening (1) from the automatic transmission. Pull out the oil lines.
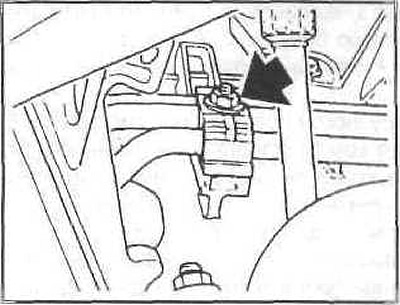
Note: Oil will leak out, so place a container underneath to collect it. Dirt should not get into the oil lines, so they should be plugged with plastic bags with rubber bands.
Pry the hole cover (1) on the engine crankcase from the side. Unscrew the three torque converter bolts one by one using a socket head. The bolts should not fall into the crankcase. To get the bolts into the hole, you need to turn the engine by the hexagon on the crankshaft pulley.
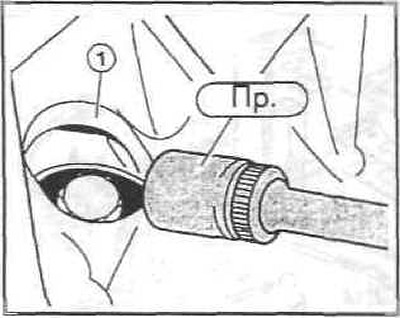
Support the automatic transmission with a floor jack with a pad from the underside of the car. The automatic transmission can only be supported by the housing, but not the oil pan.
Unscrew the bolts securing the automatic transmission to the engine. The position of the flange bolts is the same as for the manual transmission.
Prevent the torque converter from slipping by installing clamping pliers on the automatic transmission housing with the flat side of the clamp facing the converter and securing them. If clamping pliers are not installed, then when removing the automatic transmission, make sure that the converter does not slip off the automatic transmission. Pull the automatic transmission off the engine.
Unscrew the automatic transmission bolts using a TORX head.
Disconnect the automatic transmission from the flange and pull it back with the help of an assistant.
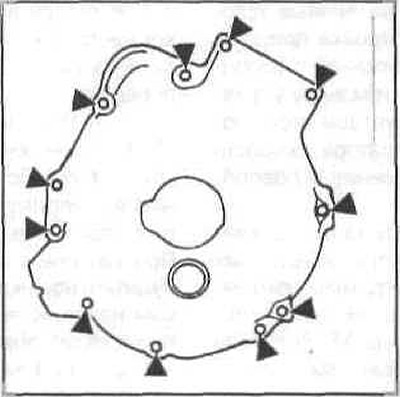
Installation
Turn the torque converter on the automatic transmission so that the holes on the bars are directed to the centers of the holes on the flywheel. Insert a special device (rod) into the bar.
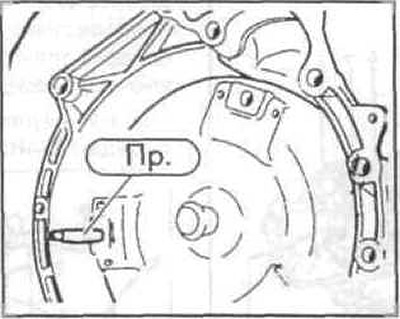
When aligning the engine and automatic transmission, the three holes on the converter must be aligned with the three holes on the drive plate (flywheel). Additional alignment is not possible and may cause damage.
Install the automatic transmission and carefully insert the rod into the hole on the drive plate. After installing and tightening the automatic transmission bolts, unscrew the rod forward from the hole.
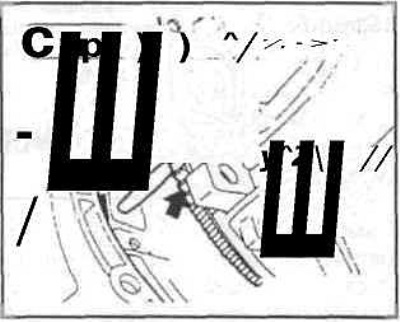
Remove the clamping pliers from the automatic transmission housing and insert the three torque converter bolts into the automatic transmission holes. Tighten the bolts to 45 Nm. When replacing, use only original bolts.
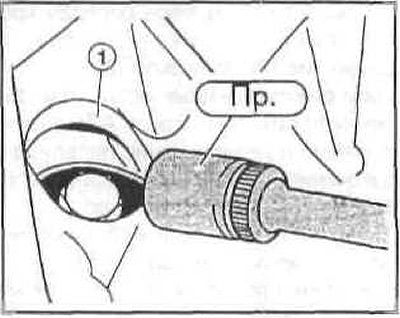
Remove the dust plugs (covers) and install the oil lines on the automatic transmission with new seals, securing the holder.
Install the oil line brackets onto the engine oil pan and secure with bolts/nuts.
Place the electrical connector onto the automatic transmission and it should click into place.
Install the gear shift cable and adjust it.
Fill the automatic transmission with oil/fluid.
Install the driveshaft.
Install the automatic transmission crossbar on the bottom and tighten the bolts/nuts to 20 Nm. Remove the jack from under the automatic transmission.
Install the heat shield. Install the anti-roll bar onto the rods and tighten the new self-locking nuts to 60 Nm.
Install the lower engine compartment cover (mudguard).
Connect the negative cable to the battery.
This article is available at russian, bulgarian, belarusian, ukrainian, serbian, croatian, romanian, polish, slovak, hungarian
Article verified: Sevastyanov Nikolay
Share information:
Previous articles
БМВ E32: Automatic gearbox
Next articles
Similar articles on other types of BMW cars:
Automatic transmission — removal and installation BMW 3 Series E46 (1998-2006, petrol)
Removal and installation of automatic transmission BMW 3 Series E46 (1998-2006)
Removal and installation of automatic transmission BMW 5 Series E28 (1981-1988)
Removal and installation the cardan transmission BMW 5 Series E12 (1972-1981)
Pistons — removal and installation BMW X3 E83 (2003-2010)
Removal and installation of automatic transmission type A5S 440Z BMW X5 E53 (1999-2006)
Automatic transmission — removal and installation BMW 3 Series E46 (1998-2006, petrol)
Removal and installation of automatic transmission BMW 3 Series E46 (1998-2006)
Removal and installation of automatic transmission BMW 5 Series E28 (1981-1988)
Removal and installation the cardan transmission BMW 5 Series E12 (1972-1981)
Pistons — removal and installation BMW X3 E83 (2003-2010)
Removal and installation of automatic transmission type A5S 440Z BMW X5 E53 (1999-2006)
Link in different formats to this page
Visitor comments
No comments yet
- General information
- Introduction to guide
- Manual
- Maintenance
- Power unit
- Engine M60/1, M60/2 (petrol)
- M62 engine (petrol)
- M57 engine (diesel)
- M67 engine (diesel)
- Cooling system
- Fuel system (petrol)
- Fuel system (diesel)
- Exhaust system
- Ignition and control systems
- Charge and launch systems
- Transmission
- Clutch
- Mechanical gearbox
- Automatic gearbox
- Cardan and drive shafts
- Chassis
- Brake system
- Front suspension
- Rear suspension
- Steering
- Body
- Exterior
- Interior
- Electrical equipment
- Equipment and devices
- Lighting
- Heating and air conditioning
- Electrical circuits
- General information
- Care and maintenance
- Power unit
- Minor engine repair
- Engine overhaul
- Lubrication system
- Cooling system
- Ignition system
- Supply system
- Injection system (petrol)
- Injection system (diesel)
- Exhaust system
- Transmission
- Clutch
- Manual gearbox
- Automatic gearbox
- Cardan gear
- Rear axle and shafts
- Chassis
- Front suspension
- Rear suspension
- Steering
- Wheels and tires
- Brake system
- Body
- Body elements
- Electrical equipment
- Equipment and devices
- Electrical circuits