
2. Remove the lower part of the air cleaner.
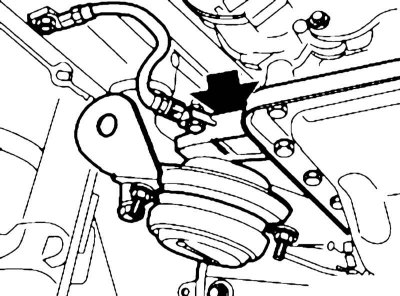
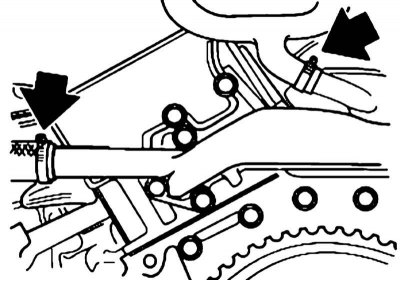
3. Disconnect the vacuum line nipple from the brake booster (see illustration).
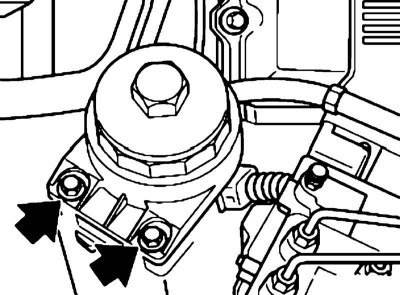
4. Remove the full-flow oil filter mounting bolts and hang it on the engine without disconnecting the pipes.
5. Disconnect the fuel supply and return hoses from the fuel distribution line.
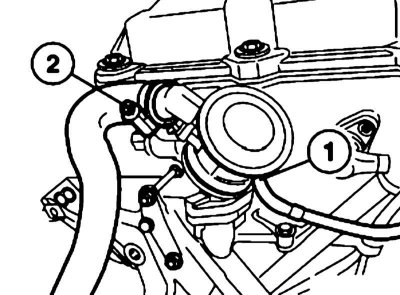
6. If necessary, disconnect the air hose (2) from the one-way valve of the exhaust emission reduction system.
7. Disconnect the control cables from the throttle valve.
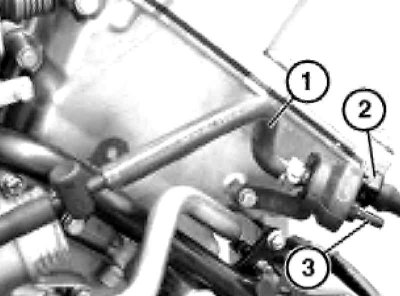
8. Disconnect the connector (2) and disconnect the vacuum hose (3) from the EVAP system valve.
9. Disconnect the engine wiring connector and move the wiring harness to the side.
10. Release the diagnostic connector mounting bracket and hang the connector out.
11. Remove the left and right heat shields.
12. Remove the coolant drain plugs on the left and right sides of the cylinder block.
13. Remove the cooling system radiator (see chapter Engine cooling, heating, ventilation and air conditioning systems.
14. Remove the manual transmission or automatic transmission (see section Removal and installation the upper section of the oil pan or Removal and installation the oil pan).
15. Disconnect the positive battery cable from the starter and remove the starter (see chapter Engine electrical systems).
16. Disconnect the positive battery cables from the crankcase, left bracket cushion and from the generator.
17. Remove the generator blower pipe (see illustration).
18. Remove the alternator drive belt (see section Removal and installation accessory drive belts), power steering pump and compressor drive belt (see section Removal and installation accessory drive belts).
19. Disconnect the A/C compressor from the support bracket and hang the compressor to the side without disconnecting the pipes from it.
20. Disconnect the ground wire from the right engine mount and unscrew the upper nuts of the left and right engine mount cushions.
21. Disconnect the hoses from the cooling system manifold.
22. Remove the exhaust manifolds (see section Removal and installation of exhaust manifolds).
23. Using a special lifting device, remove the engine from the engine compartment by lifting it by the front and rear lifting eyes (see illustrations).
Be careful not to damage components in the engine compartment when lifting the engine.
24. Installation is performed in the reverse order of component dismantling. Check the integrity of the support cushions and replace them if necessary.
25. After installation, before starting the engine, check the levels of the working fluids and adjust them if necessary.
26. Start the engine and check for fuel and fluid leaks, abnormal noises and vibrations.
27. Let the engine idle, then turn it off and check the fluid levels again.
(Original publication posted on the website «BMWMAN.ru»)