
The hood cover is quite heavy and inconvenient to remove and install - at least two people are required to perform this procedure.
Removal and installation
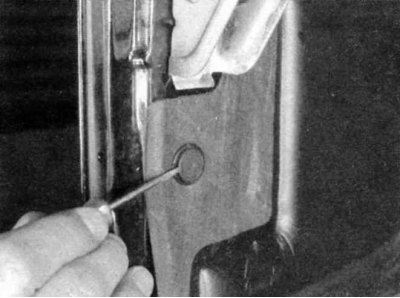
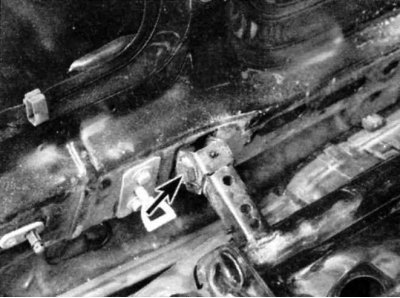
1. Open the hood. On some recent models, it may be necessary to bend the plastic clips and remove the insulating gaskets to gain access to the hood light connector and windshield washer hoses. Use a small screwdriver to pry off the plastic clip...
...remove the holder.
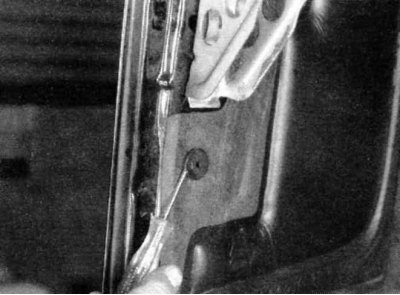
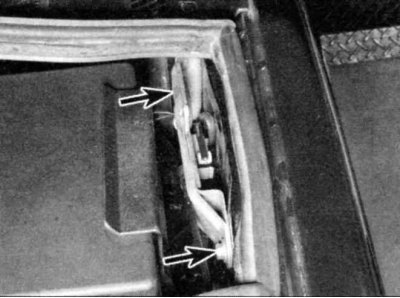
2. After that, disconnect the wires and hoses.
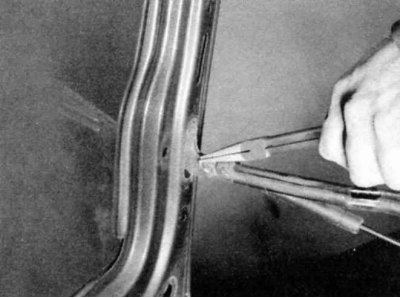
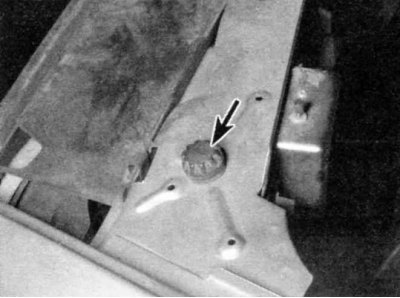
3. Remove clips and pull out fingers of an emphasis of a cowl pliers.
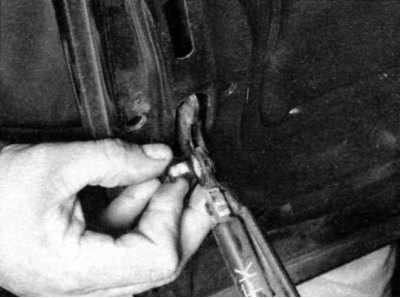
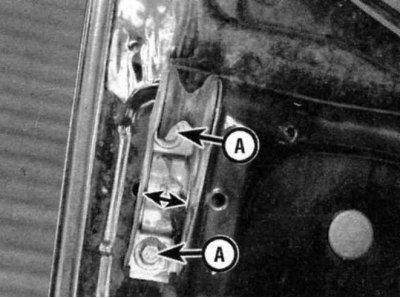
4. Support the hood and pull out the hinge pins.
5. Ask an assistant to support the hood cover on one side, while you support it on the other.
6. Loosen the hood hinge pinch bolt from your side, then hold your side of the hood while a second person pushes the pinch bolt from the other side.
7. Remove the hood. Place it in a safe place where it will not be dropped, after wrapping it in rags so as not to damage the paint.
8. Install in reverse order.
Adjustment
The hood can be adjusted after loosening the hood hinge bolts so that it is flush with the fenders. On some models it may be necessary to remove the sides of the grille to access the hinge bolts.
1. Move the hood side to side or back and forth to properly align the hood with the fenders at the front. Tighten the bolts securely.
2. The height of the rear of the hood can be adjusted by loosening the bolts and raising or lowering the latch. Tighten the bolts securely after adjustment.
3. Lateral adjustment of the hood can be made by loosening the roller guide bolt nuts and moving the guide until it engages securely with the latch.
4. After adjustment, screw or unscrew the hood stoppers to hold it in the new position.
5. To prevent sticking of the hood mechanism, it should be periodically lubricated.