
Make sure the engine is completely cool before working on the exhaust system.
If your car's radio is equipped with an anti-theft system, make sure you have entered the correct code before disconnecting the battery.
If, after connecting the battery, the inscriptions on the instrument panel appear in the wrong language, refer to Section Anti-theft audio system and instrument panel language, for instructions on how to set the desired language.
1. Disconnect the negative battery cable.
2. On models where the air cleaner is on the same side of the engine as the exhaust manifold, remove the air cleaner housing and/or airflow meter assembly to provide enough room to work (see chapter Supply system, if necessary).
For convenience, also remove the windshield washer reservoir from the right side of the engine compartment.
3. Disconnect the BB wires and set aside the spark plug wiring (see chapter Car maintenance).
4. Label and then disconnect any wires, hoses, fittings, etc. that interfere with operation. Remember to disconnect the oxygen sensor where provided.
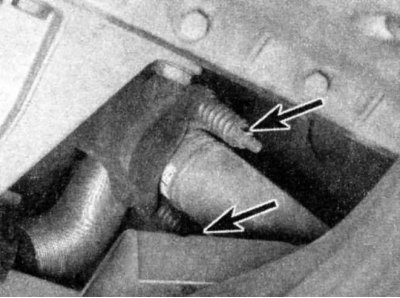
5. Jack up the vehicle and place it securely on axle stands. Working under the vehicle, disconnect the downpipe from the manifold. Use a penetrating oil to lubricate the fasteners for ease of use.
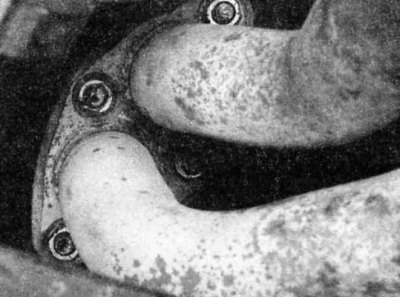
6. Remove the axle stands and lower the vehicle. Moving from the ends of the manifold to its center, gradually loosen the fixing nuts so that they can be removed. Here again penetrating oil can help.
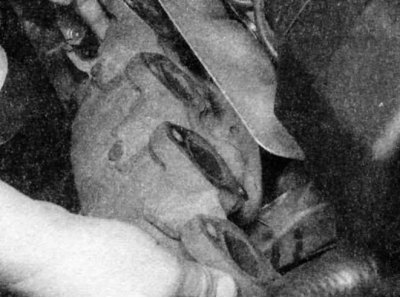
7. Pull the manifold off the head, then remove the old gaskets.
Be extremely careful not to damage the oxygen sensor where provided.
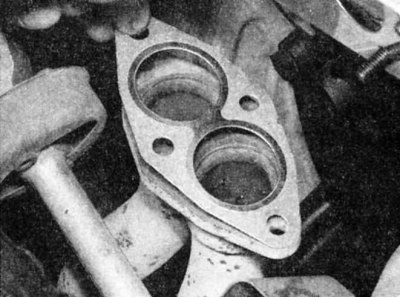
8. Clean the mating surfaces of the head and manifold and make sure that the threads on the exhaust manifold valve clearance screws are not damaged.
9. Check for corrosion, deformation, cracks or other damage to the manifold. Repair or replace manifold if necessary.
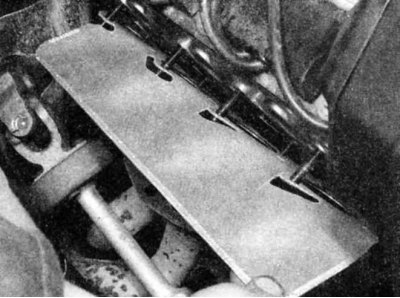
10. When installing the manifold, use new gaskets. Tighten the nuts securing the manifold to the head gradually, starting from the center and moving towards the edges, achieving the required torque. Tighten also the nuts securing the exhaust pipe to the manifold.
11. Perform the rest of the installation procedure in the reverse order of removal.