
2. Set the steering wheel to the straight ahead position.
3. Remove the top engine cover and radiator cover.
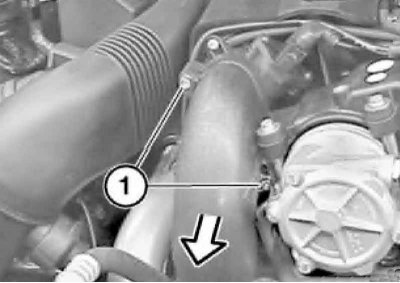
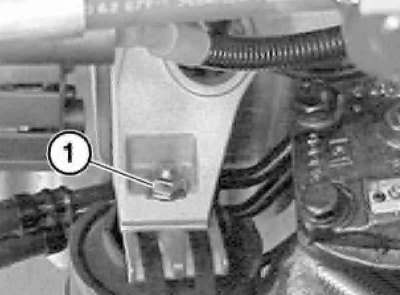
4. Turn out bolts (1) and remove the hose in the direction of the arrow.
At installation grease working edges of sealing rings of a hose with a thin layer of vaseline.
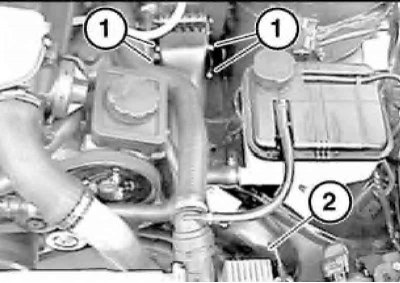
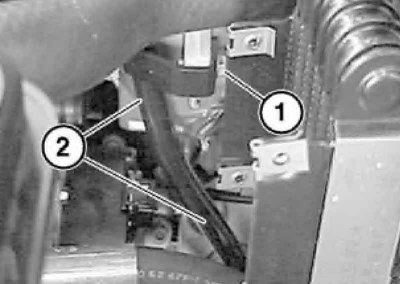
5. Turn out bolts (1) and remove the air duct (2).
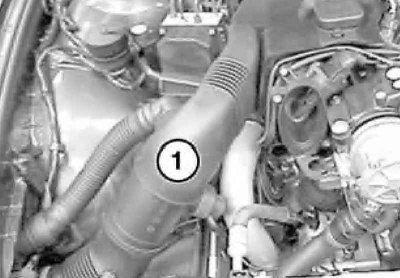
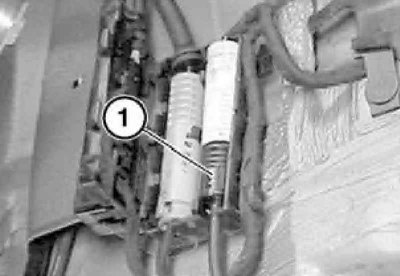
6. Remove the corrugated hose.
7. Give a nut on the right and left arms of support of the engine.
Nut on left engine mount bracket
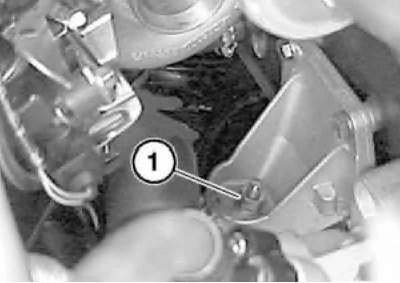
8. Remove the bolt (1) on the oil filter housing and remove the guide (2) engine oil level dipstick.
When installing, replace the guide o-ring.
9. Using a special hoist, hang out the engine by lifting it no more, than 10 mm.
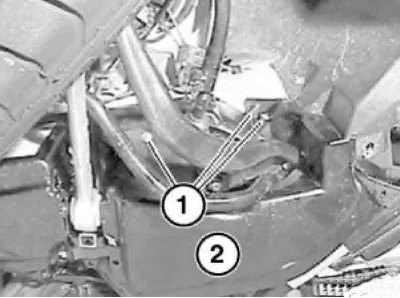
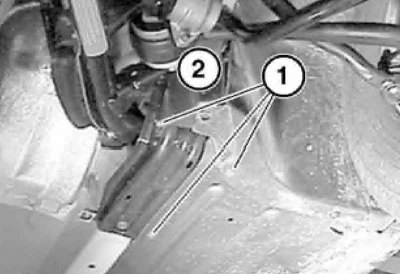
10. Turn out bolts (1) on the left and right sides of the vehicle and remove the guards (2) bridge.

11. On both sides of the car, remove the rivets (1), remove trim panels (2) front axle, remove the bolts (3) and slightly squeeze the facing panel (4) down.
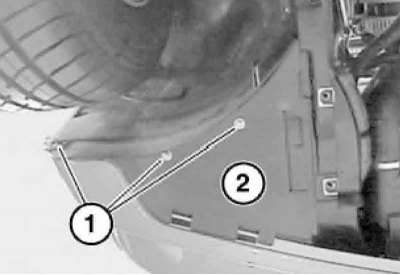
12. On both sides of the car, remove the bolts (1) and remove the left and right lower covers (2) front bumper.
13. On both sides of the car, remove the bolts (1) and remove covers (2).

14. Turn out bolts (1) and remove the stiffener (2) on the left and right side of the car.
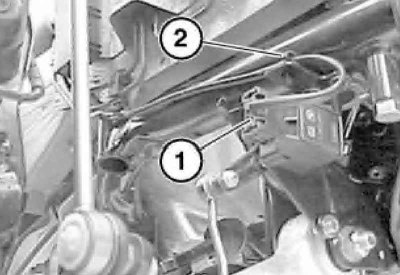
15. Disconnect the connector (1) level sensor and release the wire from the holder (2).
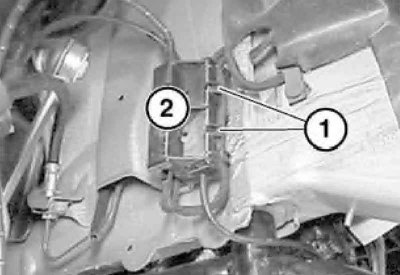
16. Turn out bolts (1) and remove the heat shield (2).
17. Press the latches (1) and open the lid (2).
18. Disconnect the connector.
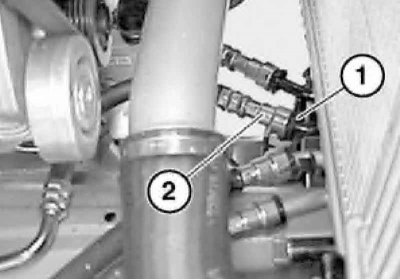
19. Wring out the hose (2) power steering cooling in the direction of the cooling circuit, press the black fixing ring (1) back and hold it in that position. Disconnect the hose (2) and collect the leaked oil.
During installation, check and, if necessary, replace the O-ring.
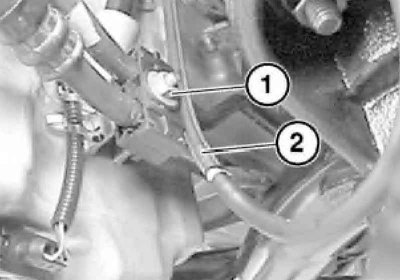
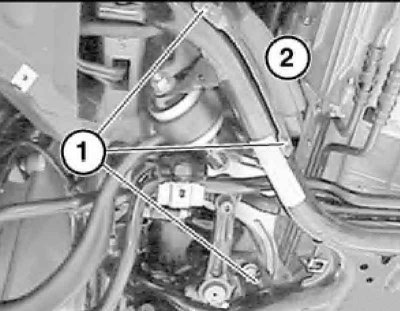
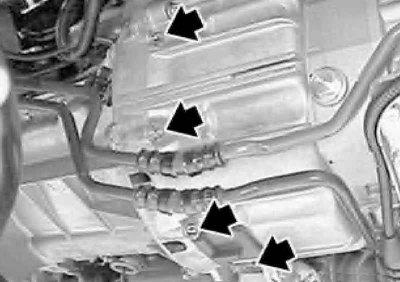
20. Give the nut (1), separate the AT oil lines from the engine crankcase, disconnect the vacuum hose (2) from the T-connector. Disconnect the connector from the oil level sensor.
21. Turn away the hinge on the steering mechanism (see chapter Suspension and steering).
To avoid damage to the coil spring in the steering column, it must be centered after completion of work.
22. Support the front axle beam with a hydraulic lift, unscrew the front axle beam mounting bolts and carefully lower it as far as possible.
23. Remove the drive belt along with its tensioner (see Section Replacing drive belts and their tensioners).
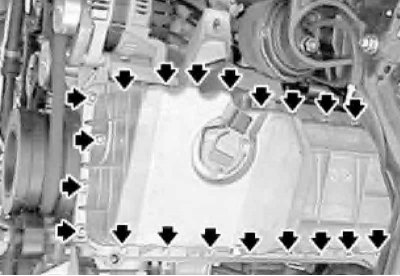
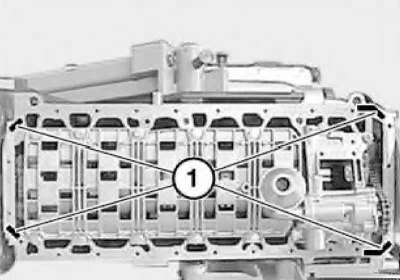
24. Turn out bolts of fastening of the top section of the pallet crankcase.
25. Remove the bolts between the transmission and the upper section of the oil pan, as well as the rear bolts securing the upper section of the oil pan.
26. Remove the oil sump towards the front.
If necessary, carefully take aside the AT oil lines.
27. Remove the gasket from the top section of the oil pan and clean the mating surfaces.
28. Apply a coat of Drei-Bond 1209 sealant 3 mm thick and 2 mm wide to the joint areas.
Do not oil the gasket.
27. Install the top section of the oil pan with a new seal. Screw in all the bolts until the heads are seated, and then tighten all the bolts in a cross pattern.
Note the different tightening torques for the M6 and M8 bolts.