
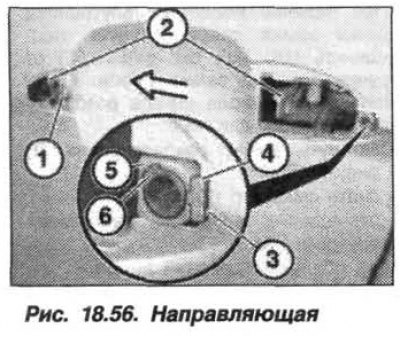
Release the ball head (1, fig. 18.55) and disconnect the drive cable (2) from fastening (3) in the door lock. The drive cable has a red color mark.
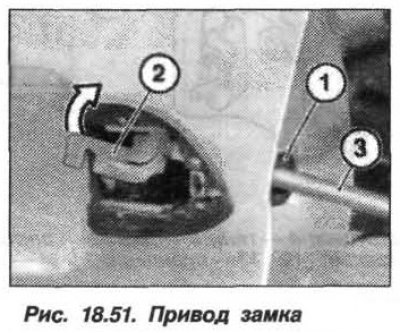
Loosen the screw (1, fig. 18.56), pull back the drive (2) lock forward and pull it out towards the inner door panel. When installing, make sure that the guide (3) stood for the edge (4) panels, and the drive (5) lock must be flush with the guide (6).
Attention! Do not remove the lock cable and do not replace it with another one, as the door may not open.
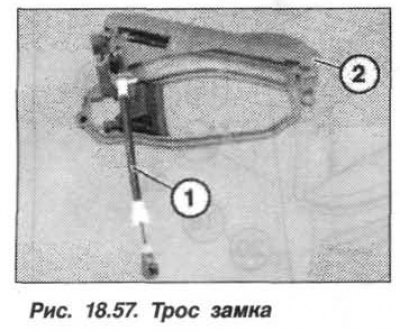
Must be properly installed - cable (1, fig. 18.57) regarding the drive (2) lock and seal (3), to counteract air current noise. Stop buffers must be installed (4).
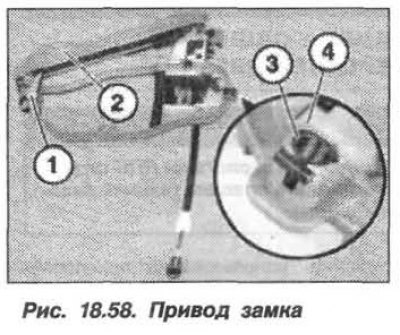
Replace screw if necessary (1, fig. 18.58) on the drive (2) door lock.
Attention! All operations to replace the locks and handles of the rear doors should be carried out in the same way as the locks and handles of the front doors.