
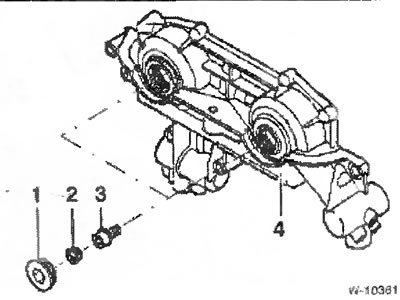
Disconnect the compressed air line from the VANOS dual actuator "4".
Note: After releasing the plugs, oil will start to flow out. Prepare clean rags and a container. Wipe off any oil that gets on the rubber parts immediately.
Unscrew the plugs "1" located along the axis of the intake and exhaust camshafts and collect the leaking oil.
Using short pliers, grasp and pull out the caps "2" located under the plugs.
Unscrew the guide pins "3" located under the caps.
Note: Left hand thread, turn right to release.
Sprocket device for VANOS
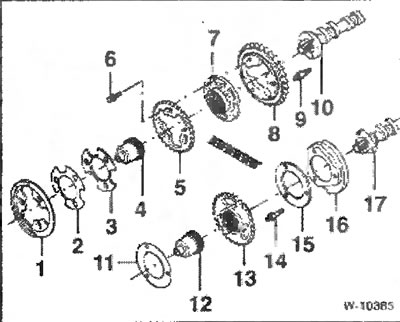
1 - pulse sensor disk
2 - disc spring
3 - adjusting washer 3.5 mm thick
4 - splined shaft
5 - star
6 - bolt with a head for a slotted key
7 - splined sleeve
8 - asterisk
9 - bolt with pin
10 - exhaust camshaft
11 - shaft disk
12 - splined shaft
13 - asterisk
14 - bolt with pin
15 - adjusting washer
16 - pulse sensor disk
17 - intake camshaft
Clean the sealing surfaces of the VANOS mechanism from dirt and oil.

Screw the "arrows" with a special device from BMW 11 6 150 "1". With this device, the spline bushings are locked when removing the sprockets.
On both sprockets, tighten 3 nuts "2" and "3" to a torque of 5 Nm, do not tighten the nuts too much.
Tighten bolts "4" in the recesses to a torque of 22 Nm.
Tighten nuts "2" and "3" to a torque of 22 Nm.
Loosen the fastening of the special tool from BMW 11 B 150.
Apply Drei Bond 1209 or Loctite Ultra Black sealant to the sealing surface joints between the cylinder head and the VANOS double actuator.
Replace the sealing gasket of the VANOS dual actuator with a new one. Tighten the actuator "arrows". Tighten the M6 nuts to 10 Nm and the M8 nuts to 22 Nm.
Connect the plug to the VANOS dual actuator.
Screw the guide studs into the intake and exhaust camshafts.
Note: Left hand thread, so turn left.
Replace the caps installed under the plugs with new ones and insert them into place using pliers.
Screw the plugs into the intake and exhaust camshafts with new sealing gaskets and tighten to a torque of 50 Nm.
Screw on the front eye for hanging the engine.
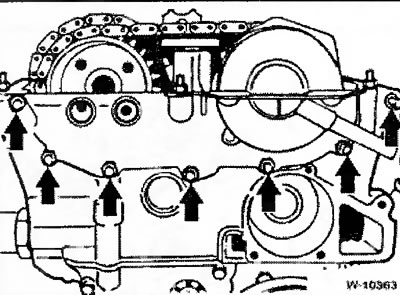
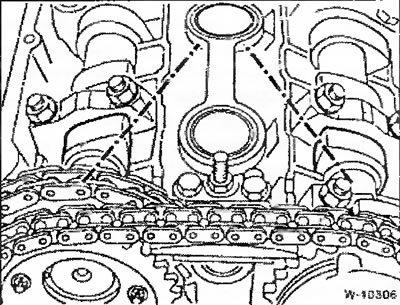
Remove the camshaft and crankshaft locking tools, see Figures W-1057 and W-10308 above.
Connect the compressed air line to the VANOS dual actuator using a suitable adapter and supply air at a pressure of 2-8 bar, see Fig. W-10224 above.
Supplying compressed air to the actuator, turn the crankshaft in the direction of rotation (clockwise) at least 2 turns.
Place the engine crankshaft in a position where the piston of cylinder 1 is at TDC, while the tops of the cams of the intake and exhaust camshafts for cylinder 1 (from the camshaft drive chain side) must be equally directed upward.
Re-insert the crankshaft locking pin, see Figure W-1057 above.
Reinstall the camshaft locking tool, see Figure W-1030B.
Note: The camshaft locking device on the intake side may be elevated by up to one mm. If the device is located higher on the exhaust side, it is necessary to adjust the engine valve timing by turning the camshaft sprockets. To do this, loosen the sprocket fastener, turn the sprockets, and then tighten the fastener again to a torque of 22 Nm.
Remove the camshaft locking device.
Remove the compressed air supply adapter from the VANOS actuator. Screw the pressure oil line with a new sealing gasket to the actuator and tighten the fastening to 30 Nm. Connect the plug connector.