
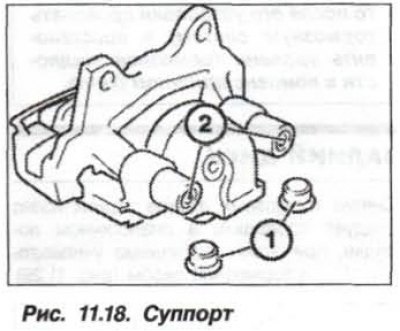
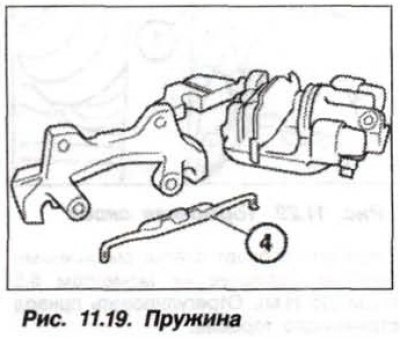
Remove the brake spring (4, Fig. 11.19) and remove the brake pads.
Attention!
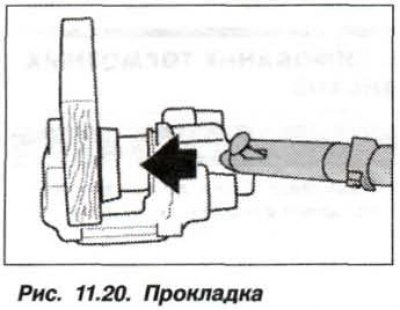
Risk of injury! During subsequent operations, the caliper piston experiences a high force – up to 2800 N.
To protect the piston, insert a safety gasket into the caliper groove (1, Fig. 11.20) made of hardwood or stiff felt. Carefully press out the piston by applying compressed air through the brake fluid inlet.
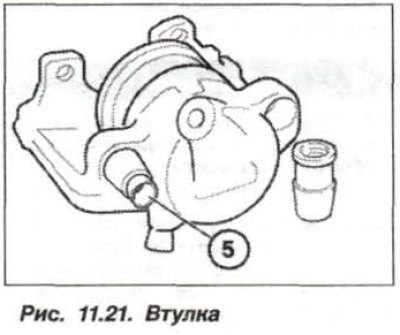
Check the guide bushings (5, Fig. 11.21) if necessary, install the guide bushing from the repair kit.
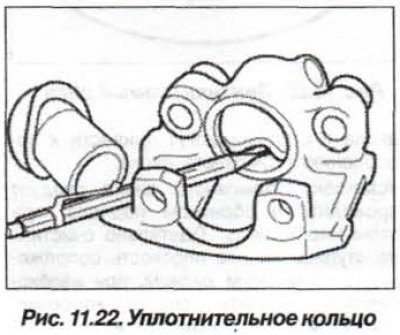
Using a plastic needle (fig. 11.22), carefully remove the sealing ring. Clean the cylinder cavities and caliper parts with alcohol and dry them with compressed air. Carefully check the cylinder cavity, piston and flange surfaces for damage. Turning or grinding of cylinders and pistons is not allowed.
The caliper should be assembled in the reverse order, and it is necessary to apply a thin layer of paste for brake cylinders of the Ate type to the cylinder mirror, piston and sealing cuff.
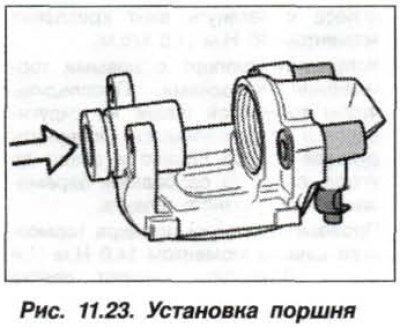
Insert a new sealing cuff into the rear groove of the cylinder. Without tilting the piston, press it into the cylinder using a block made of hard wood (arrow, Fig. 11.23).
Evenly, using the device "34.1.133" (fig. 11.24), press the dust seal all the way in. In order for it to fit correctly, the area between the seal and the caliper body must remain dry.

Caution! Do not allow Ate paste or brake fluid to come into contact with the cuff or its installation surface.
Install clean (not lubricated) guide pins and tighten them with a 7 mm wrench to a torque of 30.5 N·m (3.05 kgf·m). Make sure that the dust seal is correctly positioned in the piston.
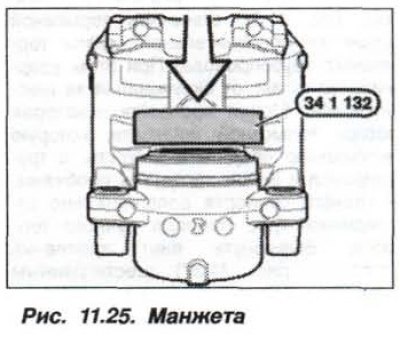
The rear wheel brake caliper should be overhauled in a similar order, but it should be taken into account that when installing the cuff (fig. 11.25) the device "34.1.132" is used instead of the device "34.1.133".
[The article was copied from an online resource: bmwman]