
Attention! Before replacing the vacuum booster, the vacuum line check valve must be replaced, as the diaphragm in the brake booster may be damaged by infiltrated fuel vapors or the non-return valve itself may be defective. When installing «Arrow» on the check valve should point towards the intake manifold.
Upon completion of work, bleed the brake system.
The design of the vacuum brake booster is shown in Figure 11.51.
Replacement of the vacuum amplifier of a drive of brakes is necessary for carrying out in a following order. Remove the wiper arm bracket, brake master cylinder, instrument panel lower left trim, and pedal mechanism trim.
Disconnect the brake booster from the brake pedal and from the bulkhead of the engine compartment. Loosen the bolts (arrows, fig. 11.52) and remove the self-powered siren together with the holder. Press and disconnect from the wiper motor its lever mechanism. Move the lever mechanism to the side.

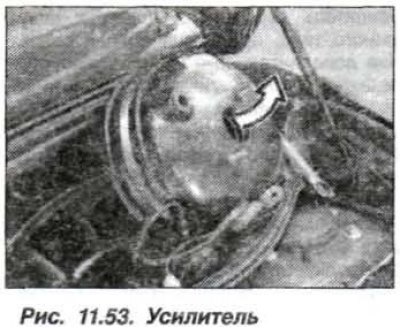
Disconnect the fairing and move it up. Carefully remove the brake booster (arrow, fig. 11.53) from the bulkhead and, tilting it towards the engine, remove it upwards.
Installation of the amplifier should be carried out in the reverse order, while it is necessary to replace the self-locking nuts securing the pedal bracket and the brake booster to the bulkhead of the engine compartment and tighten them to a torque of 31 Nm (3.1 kgf·m). Bleed the brake system.