
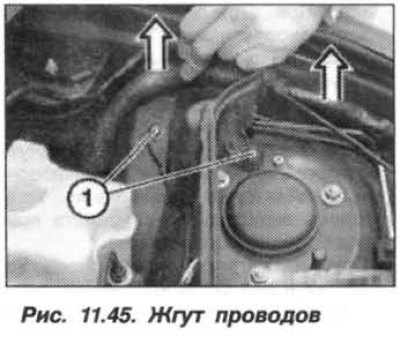
Disconnect the "+" terminal of the battery from the partition in the engine compartment, on the left, and insulate it. Release the hood locking device drive cable from the clamps. Remove the wiring harness from the partition by moving it upwards (arrows, Fig. 11.45), unscrew the nuts (1).
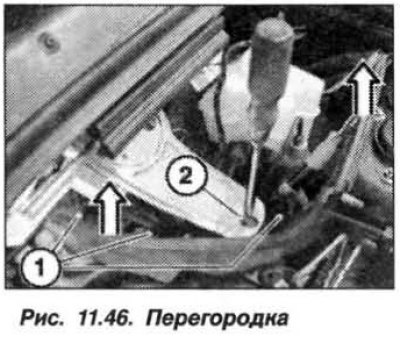
Unscrew the screws (1, Fig. 11.46), remove the rubber hinges (2) of the windshield wiper and remove the partition by moving it upwards (arrows).
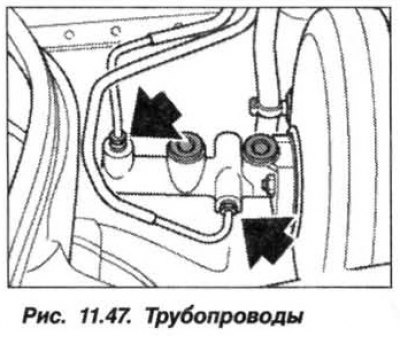
Disconnect the brake lines from the master cylinder (arrows, Fig. 11.47).
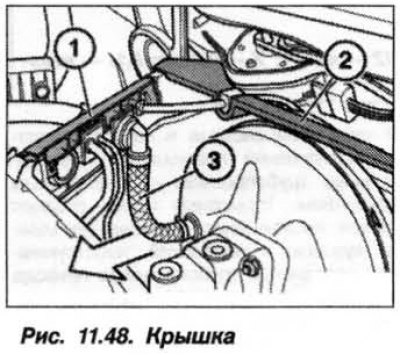
Remove the lid (1, Fig. 11.48) pipe terminals and disconnect the vacuum hose (3) from the brake booster.
Loosen the two self-locking fastening nuts (3, see Fig. 11.51) and remove the master cylinder from the brake booster (1).
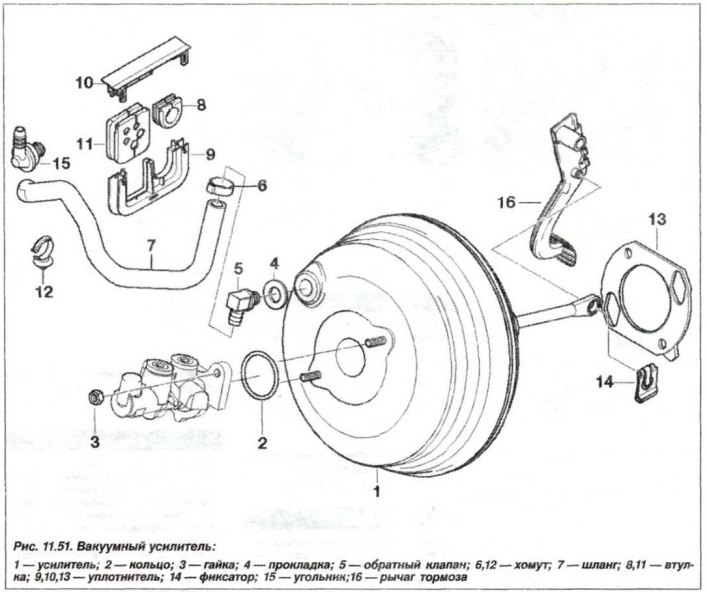
The installation of the brake master cylinder should be carried out in the reverse order, while it is necessary to replace the O-ring (2) of the circular cross-section at the rear of the master cylinder on the mating surface with the vacuum booster.
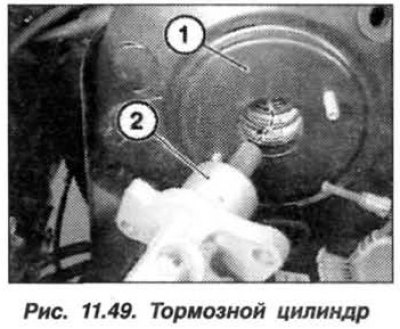
Starting the master brake cylinder (2, Fig. 11.49) into the brake booster (1), make sure that the booster rod is in the same plane as the rod of the master brake cylinder (2).
Install new self-locking nuts for the brake master cylinder and tighten them to 26 N·m (2.6 kgf·m). Tighten the nuts on the pipe fittings to 14 N·m (1.4 kgf·m).
Attention! At the end of the work it is necessary to bleed the brake system.
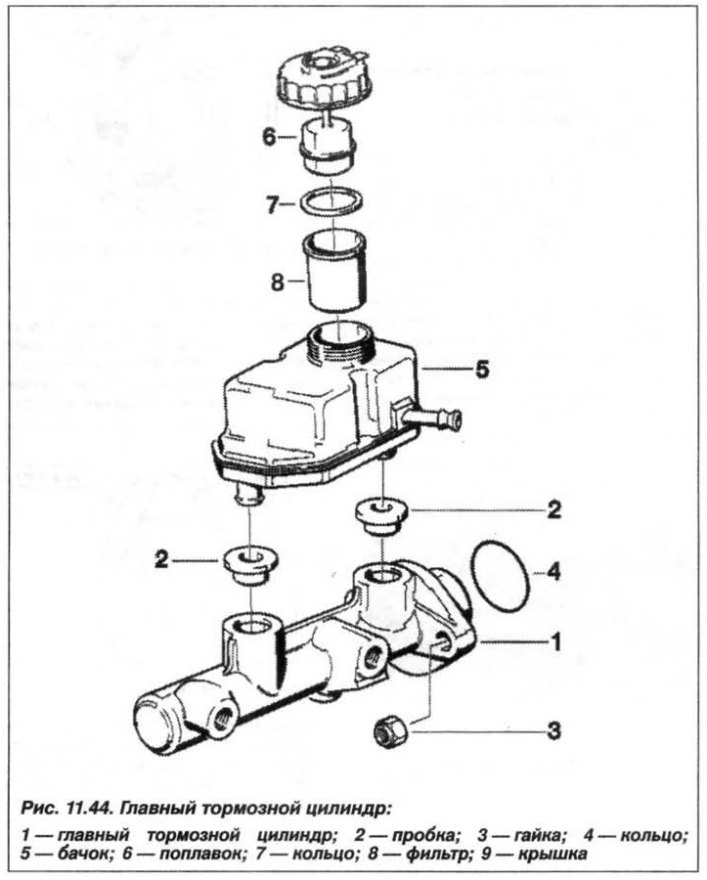
Repair of the main brake cylinder consists of replacing it as a whole in case of malfunction. The only element subject to replacement are the bushings of the brake fluid compensation tank.