
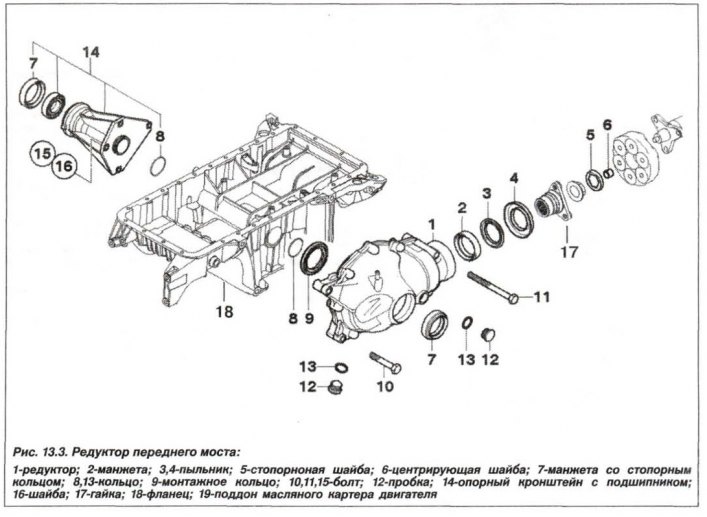
Attention! To remove the front axle gearbox, it is necessary to lower the front axle beam.
When lifting the engine by 5 mm (or 10 - 12 mm, for M62), make sure that neither the pipes nor the wiring harnesses will be damaged by the lifting devices (chains).
Do not press the wheel drive shaft out of the flange.
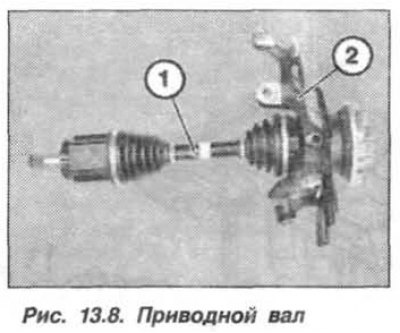
When removed and installed, the wheel drive shaft and swivel support form a single unit.
Replace the sealing ring. The replacement of the front axle gearbox is given for a car equipped with an engine of the "M54" model, the differences for the equipment with engines "M57", "M62" and "N62" are given as the material is presented.
Note: There is no need to measure the front wheel alignment angles.
After completing the work, check the oil level in the front axle gearbox. The front axle gearbox must be replaced with an assistant in the following order.
Prepare the devices for work: "00.0.200", "00.0.201", "00.0.202", "00.0.204", "00.0.208", "00.2.030", "11.0.000", "11.0.020", "31.2.220". "51.2.170".
Disconnect the "-" terminal from the battery. Remove the heater partition and lower the front axle beam. Drain the oil from the front axle gearbox.
Raise the damper locking bracket slightly, simultaneously moving it upwards and, holding the hood, disconnect the damper. Open the hood completely, using the device "51.2.170", fix the hood in the open position.
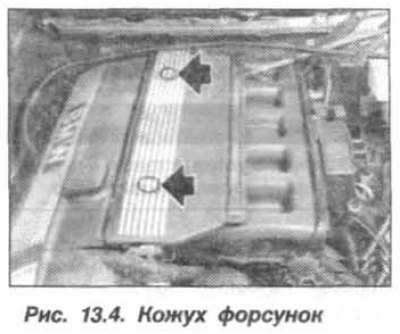
Remove the injector casing ("M54"), Figure 13.4. Unscrew the screws and remove the noise-insulating casing.
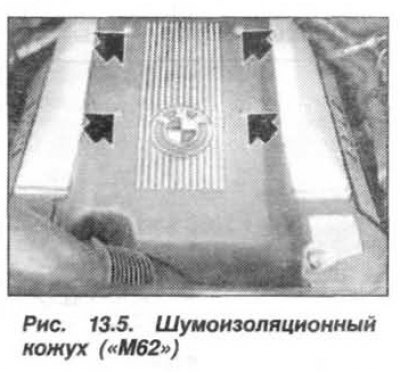
Turn the soundproofing casing latches by 90° ("M62"), Fig. 13.5, and remove it.
Remove the upper part of the air filter housing together with the air flow meter ("M54").
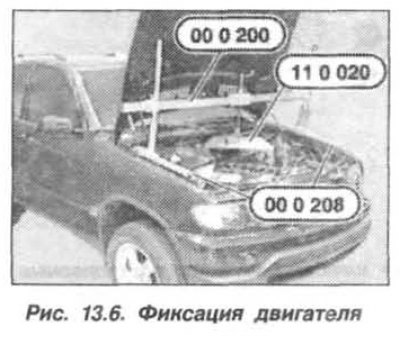
Assemble the "11.0.020" device for fixing the "M54" and "M57" engines, as shown in Figure 13.6. For the "M62" and "N62" engines, use the "11.0.000" device. The device supports must rest on the pins in both body wings, and their mounting bolts must be tightened. Secure the device to the front and rear engine lifting eyes.
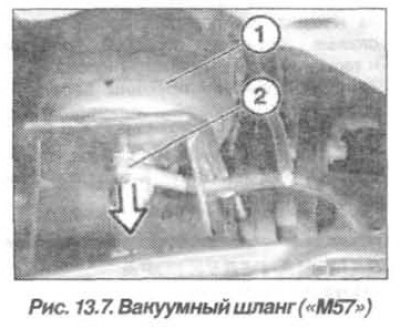
Remove the left and right engine compartment shield (M57) and disconnect the vacuum hose (2, Fig. 13.7) from the engine mount cushion, right and left.
Unscrew the upper nuts of the left and right engine mount cushions. Using the screw of the "00.0.200" device, lift the "M54" or "M57" engine by 5 mm, the "M62" or "N62" engine by 10–12 mm.
Remove the front engine compartment protective cover panel, the reinforcement plate and the front propeller shaft. Disconnect the steering shaft from the steering gear.
When removing and installing the drive shaft (1, Fig. 13.8) the wheels and the swivel support (2) form a single unit.
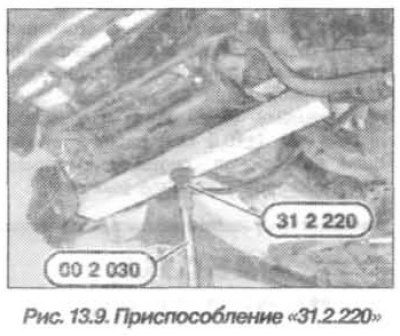
Remove the left and right swivel bearings with the wheel drive shafts. Support the front axle beam with a wooden crossbar using tools "00.2.030" and "31.2.220" (Fig. 13.9).
Disconnect the front axle beam from the front side member.
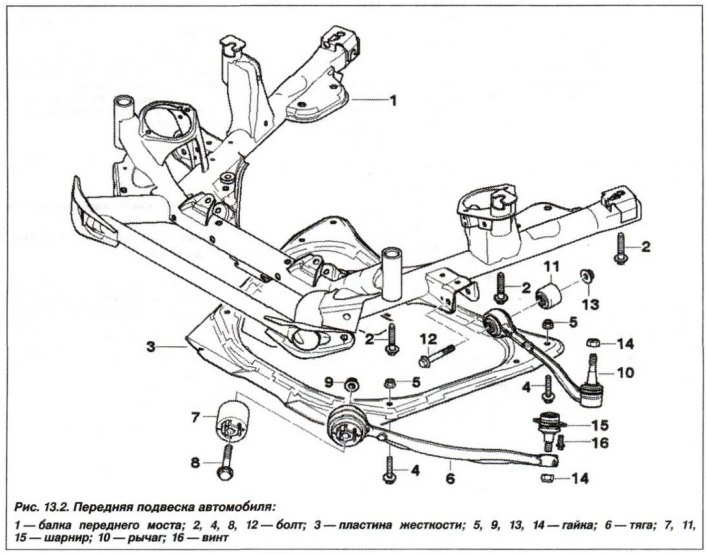
Screw in the "31.1.150" device one by one instead of the original bolts (2. see fig. 13.2) approximately 20 mm and lower the front axle beam. Remove the left engine mount and disconnect the gearbox vent hose.
Note: The bolts of the front axle beam of the E38 series vehicles with the part number 9.900.223 can be used as the "31.1.150" device.
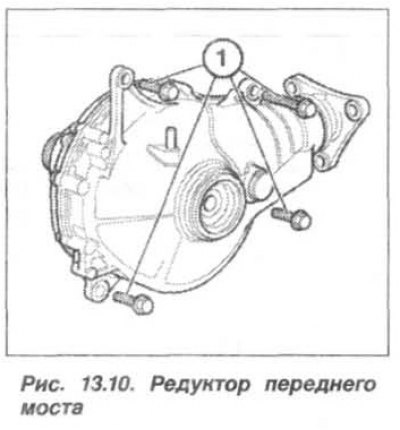
Remove the bolts (1, Fig. 13.10) and carefully remove the front axle gearbox. Remove the mounting ring (9, see Fig. 13.3) and a sealing ring (8).
Insert a new sealing ring (8) into the groove and apply lubricant to it to facilitate sliding.
The front axle gearbox should be installed in the reverse order, while it is necessary to install the mounting ring (9) tightly to the sealing ring (8). The mounting ring (9) protects the sealing ring (8) from damage when installing the front axle gearbox at the engine oil pan.
When installing the front axle gearbox on the engine oil pan, it is necessary to slide the mounting ring (9) onto the sealing ring (8) and leave it in this position.
Tighten the engine oil pan connecting bolts to a torque of 55 N·m (5.5 kgf·m).
Unscrew the plug of the front axle gearbox housing and fill it with oil (0.6–0.7 l), up to the lower edge of the filler hole plug. Install a new plug gasket and tighten it to a torque of 60 N·m (6.0 kgf·m).