
Attention! After removing the cardan shaft, it is prohibited to start the engine and move the vehicle.
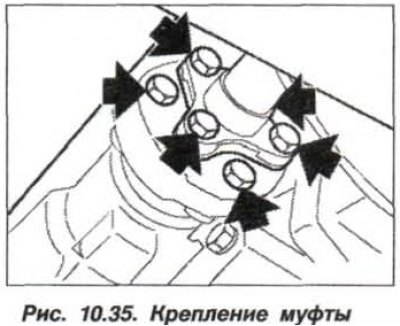
The front propeller shaft must be replaced in the following order. Remove the stiffening plate. Unscrew the nuts of the bolts (arrows, Fig. 10.35) fastening the elastic coupling, holding the bolt heads from turning. Move the cardan shaft back and remove the elastic coupling with the centering flange.
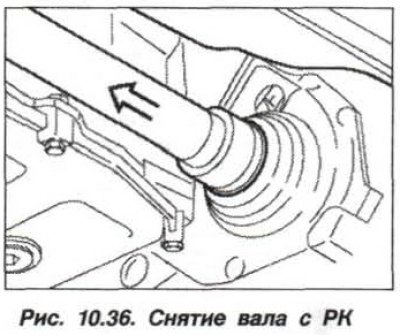
Disconnect the cardan shaft from the transfer case by moving it forward (fig. 10.36).
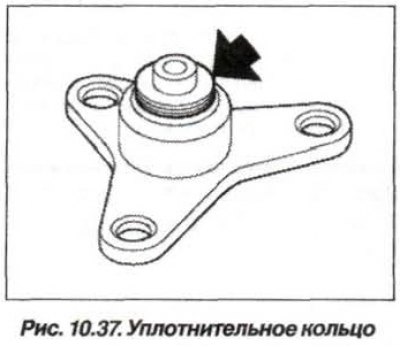
Check and, if necessary, replace the O-ring of the centering element (arrow, Fig. 10.37). Clean the splines of the connection and check their technical condition. Lightly lubricate the splined connection with grease such as "Weicon Antisize".
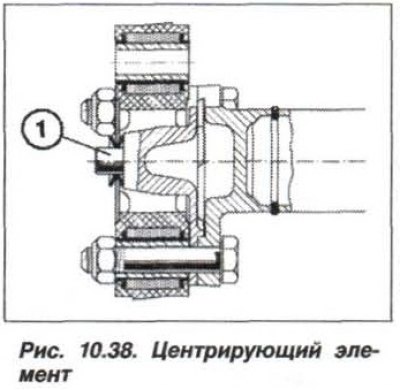
Check the centering element (1, Fig. 10.38) and replace it if necessary. Lubricate the centering element with paste such as "Molykote Longterm 2PLUS" or "Optimol Olistamoly 2". Check and, if necessary, replace the sealing ring.
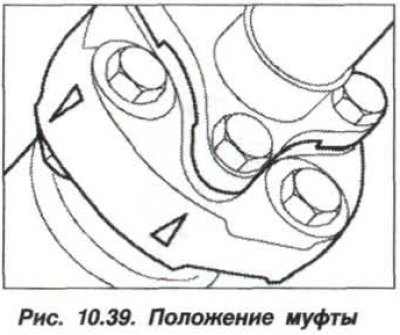
Install the elastic coupling so that the arrows on the coupling (fig. 10.39) were directed towards the flange cheeks.
Replace the self-locking nuts of the M10 (10.9) propeller shaft mounting bolts. Tighten the nuts of the bolts to the following torque:
- from the front axle gearbox side – 60 Nm (6.0 kgf·m);
- from the transfer case shaft side – 64 Nm (6.4 kgf·m).