
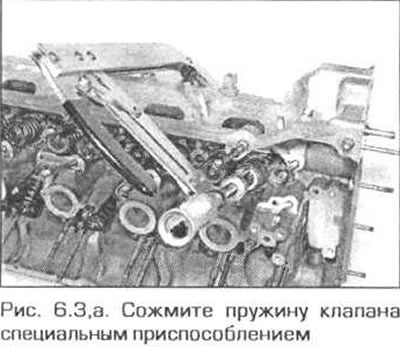
Comment. At service stations and specialists, you can purchase a new or remanufactured head. Since special tools and fixtures are needed to disassemble and inspect the condition of the head and its parts, and in addition, the repair may require some new parts that may not always be available, it may be more practical and cost-effective for the home mechanic to purchase a remanufactured head, than to disassemble, determine the condition and repair the old one. When disassembling the cylinder head, a device is required. To compress valve springs.
4-cylinder engines
1. Remove the cylinder head as described in chapter 2A.
2. Remove the intake and exhaust manifolds from the cylinder head (if this was not done before removing the head), rocker arms, pushers and hydraulic supports.
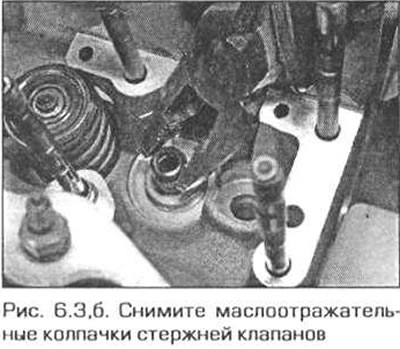
3. Using a valve spring compressor, compress each valve spring in turn and loosen the cotters. Release the spring and remove the plate, spring and spring washer. Note that pre-September 1997 M43TU engines have two springs on each valve. Carefully remove the valve stem seals from the valve guides with pliers (pic. 6.3, a, b).
4. If the crackers do not want to leave their place when the valve spring is compressed, gently tap the tool directly above the valve stem. Rusks should be released.
5. Remove the valve from the combustion chamber side.
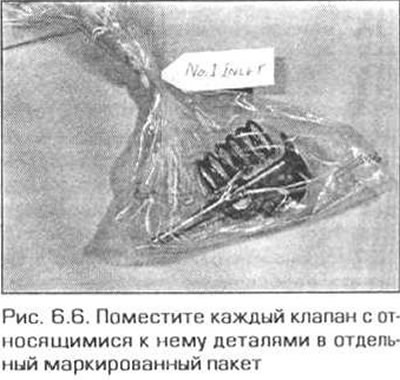
6. It is important to store each valve with its nut, poppet, support washer and spring. In addition, these sets must be stored in a certain order, unless, of course, they are too worn out and cannot be replaced. If the valve sets are to be reinstalled on the engine, keep them each in their own plastic bag or box with a tag (pic. 6.6). Note that cylinder numbering starts at the camshaft drive side.
6-cylinder engines
7. Remove the cylinder head as directed in chapter 2B.
8. Remove camshafts, tappets and camshaft bearings (chapter 2B).
9. Follow the steps indicated in p.p. 3-6, taking into account the fact that the valves of 6-cylinder engines have one spring each.