
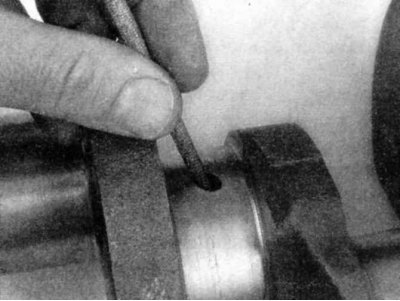
1. Use a scraper, file or abrasive stone to remove all burrs from the crankshaft oil holes.
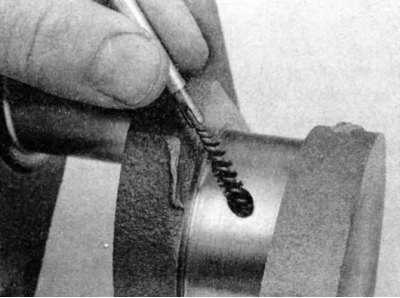
2. Wash the crankshaft with solvent and dry with compressed air (if available). Don't forget to clean the oil passages with a stiff brush and flush them with solvent.
3. Check the main bearing journals and connecting rod bearings for uneven wear, nicks, dents and cracks.
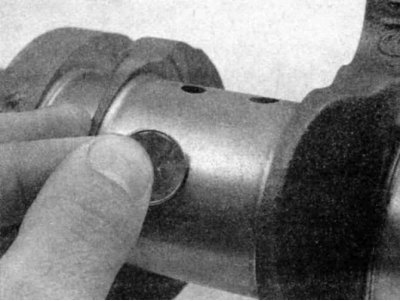
4. Run a copper coin over each neck several times. If traces of copper remain on the neck, it is too uneven and should be polished.
5. Check the rest of the crankshaft for cracks and other damage. If necessary, have the crankshaft inspected by a mechanic.
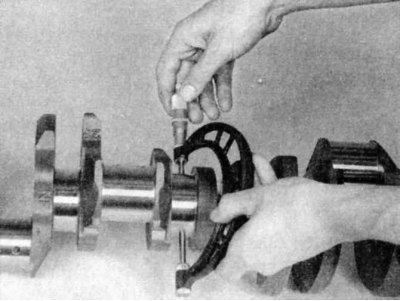
6. Use a micrometer to measure the diameters of the main and connecting rod bearing journals and compare the measurement results with the requirements Size charts and adjustment data at the end of the Manual. By measuring at several points, you can determine what ovality the journals have. To determine the taper of the journals, measure the diameters of the journals at their edges, near the crank cheeks.
7. If the crankshaft journals are damaged, tapered, out of round, or worn beyond the limits specified in Table of sizes and adjustment data at the end of the manual, send the crankshaft to a machine shop for grinding. Make sure that the correct size bearings are used after the crankshaft is ground.
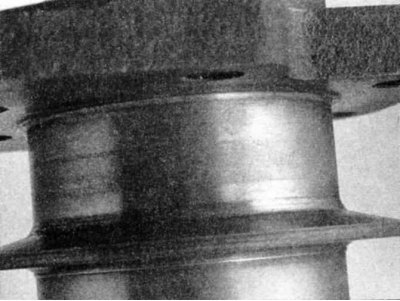
8. Check the ends of the crankshaft seals for damage and wear. If the seal has worn out a groove in the pin or if it has nicks or scratches, then after the engine is assembled, the new seal may leak. In some cases, a mechanical workshop can repair the pin by pressing a thin bushing onto it. If repair is not possible, then another or new crankshaft should be installed.
9. Check the condition of the main and connecting rod bearing shells (see section Checking the condition of main and connecting rod bearings).