
2. Use your fingernail to check for a ledge at the top point of the piston ring movement (approximately 6mm from the top of each cylinder). If ledges have formed due to carbon deposits or cylinder wear, they must be removed with a tool called a countersink. Do this before removing the pistons. Follow the manufacturer's instructions for use of this tool. Failure to remove these ledges before installing the pistons/connecting rods may result in piston ring failure.
3. After removing the ledges in the cylinders, turn the engine over with the crankshaft facing up.
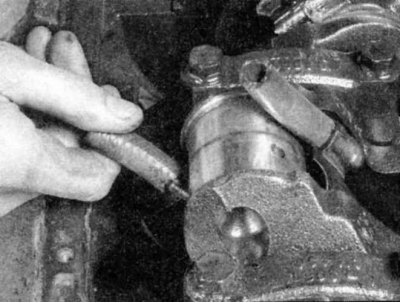
4. Before removing the connecting rods, check the lateral play with feeler gauges. Insert the feeler gauges between the first connecting rod and the crank cheek until the play disappears. The lateral play corresponds to the thickness of the feeler gauge(s). If the lateral play exceeds the permissible limit, new connecting rods will be required. When installing new connecting rods (or a new crankshaft) make sure that there is some lateral play, if not, the connecting rods need to be machined - if necessary, consult a workshop). Repeat the operation for the remaining connecting rods.
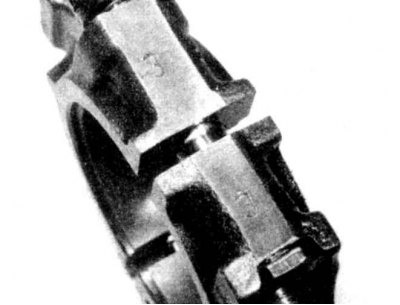
5. Check the identification marks on the connecting rods and caps. If they are not marked, use a small center punch to apply the number of marks corresponding to the cylinder number to each connecting rod and cap (1, 2, 3 and so on).
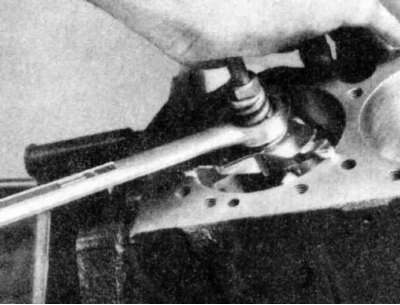
6. Loosen the nuts/bolts of each connecting rod cap one half turn at a time until they can be unscrewed by hand. Remove the cap and the bearing shell of connecting rod No.1. Do not drop the shell from the cap.
7. If studs are used to secure the covers, then to protect the crankshaft journal and cylinder wall when removing the piston, place short rubber or plastic tubes on the studs.
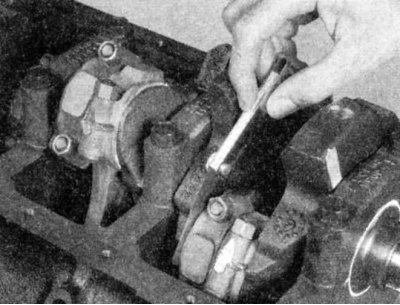
8. Remove the bearing shell and push the piston/connecting rod assembly out through the top of the cylinder. Press the top connecting rod bearing surface with the wooden handle of a hammer. If resistance is felt, double-check that the entire shoulder has been removed from the cylinder.
9. Repeat the procedure for the remaining cylinders.
10. Once removed, install the connecting rod caps and bearing shells into the appropriate connecting rods and tighten the cap bolts/nuts by hand. Keeping the original bearing shells in place until reassembly will help protect the connecting rod bearing surfaces from accidental burrs and dents.
11. Do not separate the pistons from the connecting rods (see section Checking the condition of pistons/connecting rods).
[The original version is on the portal www.bmwman.ru]